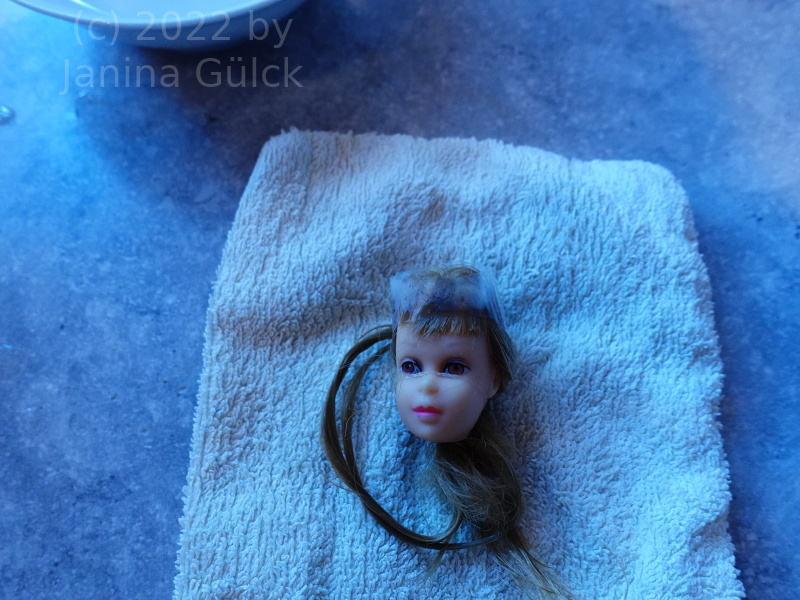
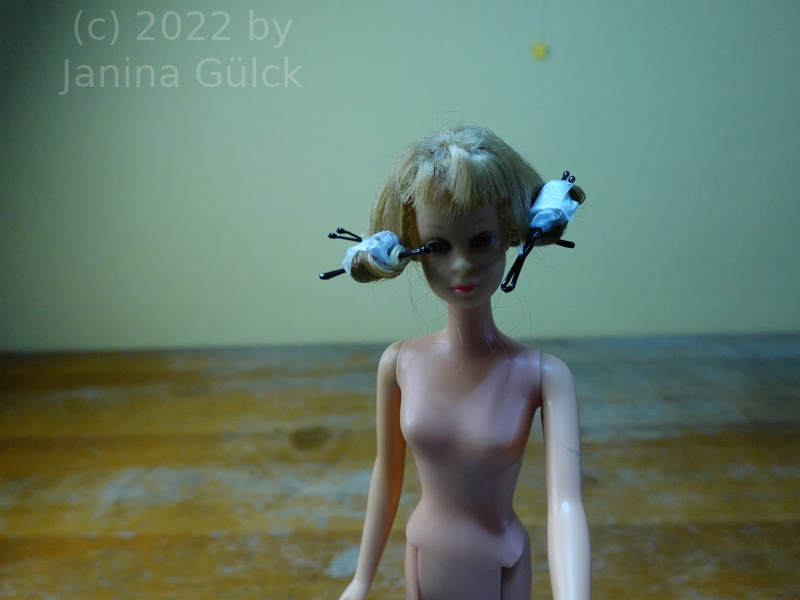
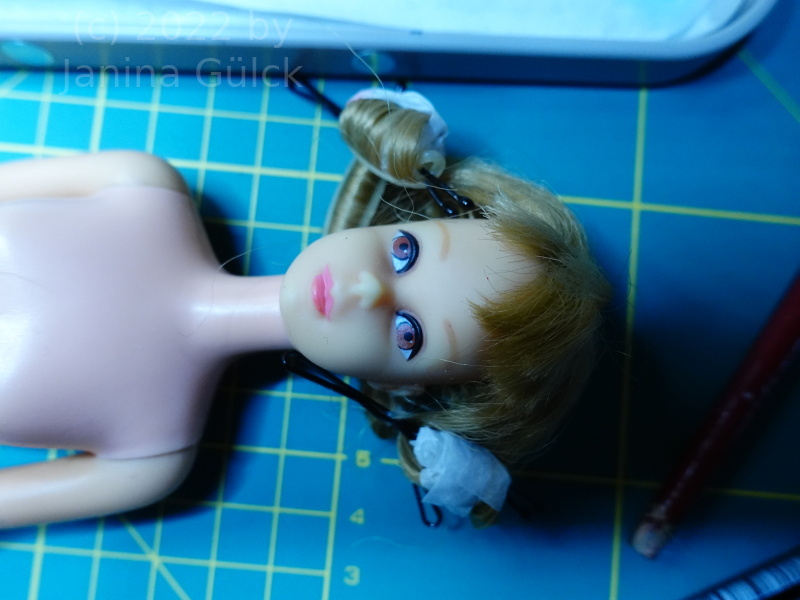
I have not made much videos about Francie in the last two months. The reason was that I had problems to find a tlc Francie for this project. I came across a body without a head and then suddenly there was a perfect Francie offered, perfect for this project. The seller said she was tlc but even tlc is not for free. I bought her.

Some days later she arrived in her parcel. I must say I expected her in a shape worser than you can imagine but this was not the case. In fact I see her potential. Yes, this doll is almost in her 60s but does it stop me to repair her? The answer is no. I sometimes really enjoy these bigger projects where you can use a lot of creativity to restore them.
As I already mentioned in my last repaint video I don’t recommend you to start without the correct material ( link https://barbie.final-memory.org/what-you-need-for-a-good-barbie-repaint/ ). Buy everything you need for the project in advance or simply have it at home when you plan your project. It’s good when you have a time schedule in advance. For making this video I needed at least 2 weeks. It’s not the pure time you need but you need to consider that things like hairs have to dry at least for 24 hours when you want them to be dry for your next step.
I also have a little endoscopic camera for my projects so you can think of buying one before you start ( if you want to work with one). Then arrange to have the hair at home. I know this may sound weird but I prefer to have a big box with hair at home before I do anything. This gives me a creative feeling. I need some positive vibes before I start. In my case this vibe is created when I can have a look into my hair storage or my acrylic paint storarge or my brush glas. I have all my brushes in one glas. I think it’s a handy dandy way to start. Have everything at home before you start.

Before I actually started with my video I made a plan how to start what to show, what to do at first, what to do next and so on. I wanted to have some logical steps in a plan before I started to film. So I could make sure that nothing was forgotten.
I my case I started with the head but as you can imagine I wanted to have a look into her head before I started to reroot her. This was a kind of safety insurance not to expect anything unexpected. I checked the pattern of hair in her head way before I started to reroot. When you see there is a destroyed pattern in the head you have to repair it before you can replace missing streaks. Then continue with the hair. After having inserted the new steaks you have to flatten the new streaks.
For this you need at least a day for the drying. Good. After that you can cut the hair. I recommend combing the hair before you cut it. Use a good pair of suitable scissors. I have a professional pair of scissors for cutting hair but it’s for right handers, not lefties. That’s why I use my pair of embroidery scissors here. Works.

After cutting you can curl if you want to. I did this in my case to have the hair out of the way for the repaint. So I used the hot and cold bath method for the curlers and started one day later with the repaint. Before doing the repaint I put my brushes and colors on my desk and prepared my wet palette. After finishing the repaint I waited 24 hours before I used my sealer. After another day I took her curlers out, finished the styling and prepared everything for the final scenes.

You see it’s a lot of work. Being well prepared is never a mistake.

One Reply to “Francie and how to restore her”
Comments are closed.