Francie and how to restore her

I have not made much videos about Francie in the last two months. The reason was that I had problems to find a tlc Francie for this project. I came across a body without a head and then suddenly there was a perfect Francie offered, perfect for this project. The seller said she was tlc but even tlc is not for free. I bought her.

DSC08264
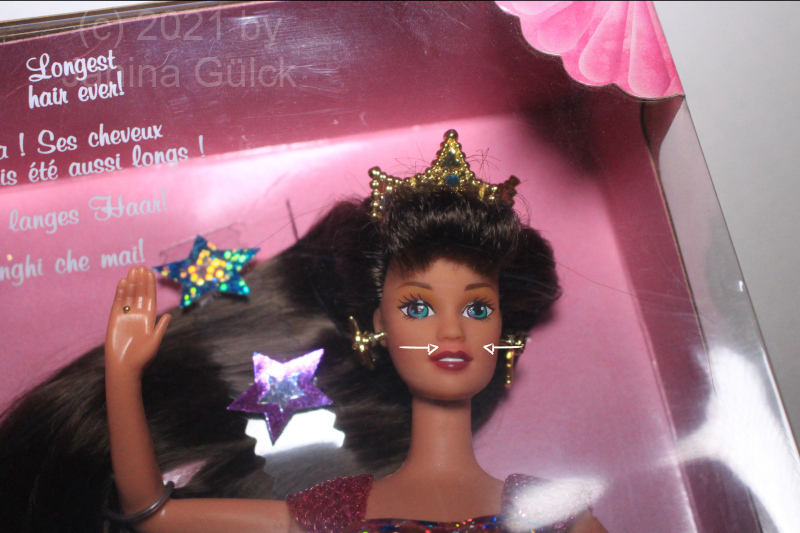
Francie before the reroot, some streaks are missing

Some days later she arrived in her parcel. I must say I expected her in a shape worser than you can imagine but this was not the case. In fact I see her potential. Yes, this doll is almost in her 60s but does it stop me to repair her? The answer is no. I sometimes really enjoy these bigger projects where you can use a lot of creativity to restore them.

As I already mentioned in my last repaint video I don’t recommend you to start without the correct material ( link https://barbie.final-memory.org/what-you-need-for-a-good-barbie-repaint/ ). Buy everything you need for the project in advance or simply have it at home when you plan your project. It’s good when you have a time schedule in advance. For making this video I needed at least 2 weeks. It’s not the pure time you need but you need to consider that things like hairs have to dry at least for 24 hours when you want them to be dry for your next step.

I also have a little endoscopic camera for my projects so you can think of buying one before you start ( if you want to work with one). Then arrange to have the hair at home. I know this may sound weird but I prefer to have a big box with hair at home before I do anything. This gives me a creative feeling. I need some positive vibes before I start. In my case this vibe is created when I can have a look into my hair storage or my acrylic paint storarge or my brush glas. I have all my brushes in one glas. I think it’s a handy dandy way to start. Have everything at home before you start.
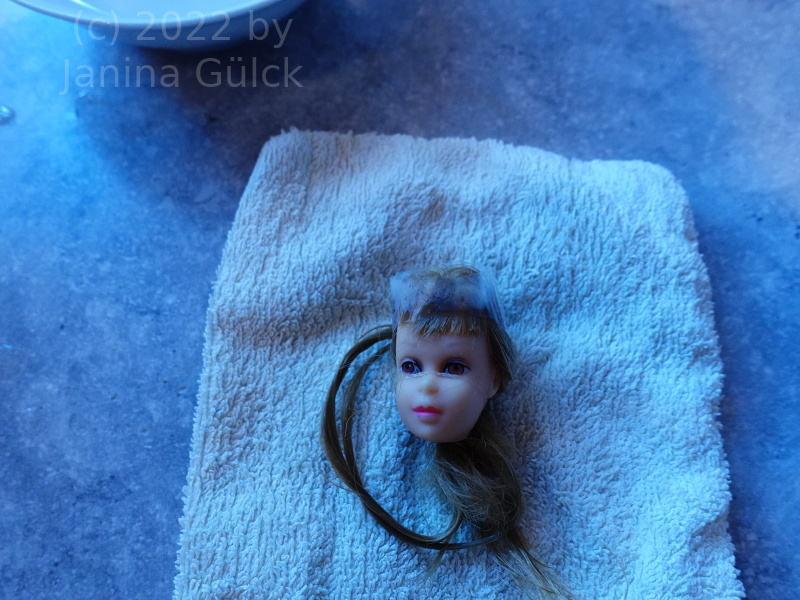
DSC08267
Francie after re-root but before repaint still drying

Before I actually started with my video I made a plan how to start what to show, what to do at first, what to do next and so on. I wanted to have some logical steps in a plan before I started to film. So I could make sure that nothing was forgotten.

I my case I started with the head but as you can imagine I wanted to have a look into her head before I started to reroot her. This was a kind of safety insurance not to expect anything unexpected. I checked the pattern of hair in her head way before I started to reroot. When you see there is a destroyed pattern in the head you have to repair it before you can replace missing streaks. Then continue with the hair. After having inserted the new steaks you have to flatten the new streaks.

For this you need at least a day for the drying. Good. After that you can cut the hair. I recommend combing the hair before you cut it. Use a good pair of suitable scissors. I have a professional pair of scissors for cutting hair but it’s for right handers, not lefties. That’s why I use my pair of embroidery scissors here. Works.
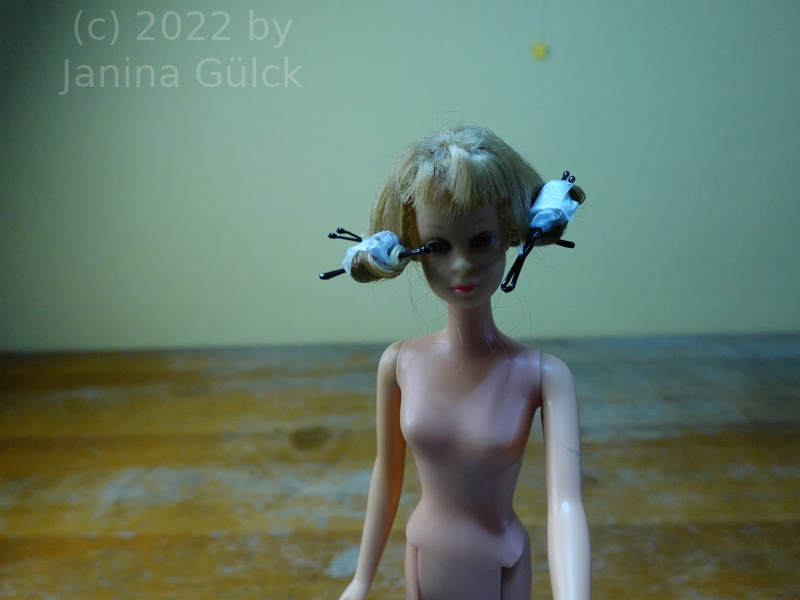
DSC08272
Francie with curlers

After cutting you can curl if you want to. I did this in my case to have the hair out of the way for the repaint. So I used the hot and cold bath method for the curlers and started one day later with the repaint. Before doing the repaint I put my brushes and colors on my desk and prepared my wet palette. After finishing the repaint I waited 24 hours before I used my sealer. After another day I took her curlers out, finished the styling and prepared everything for the final scenes.
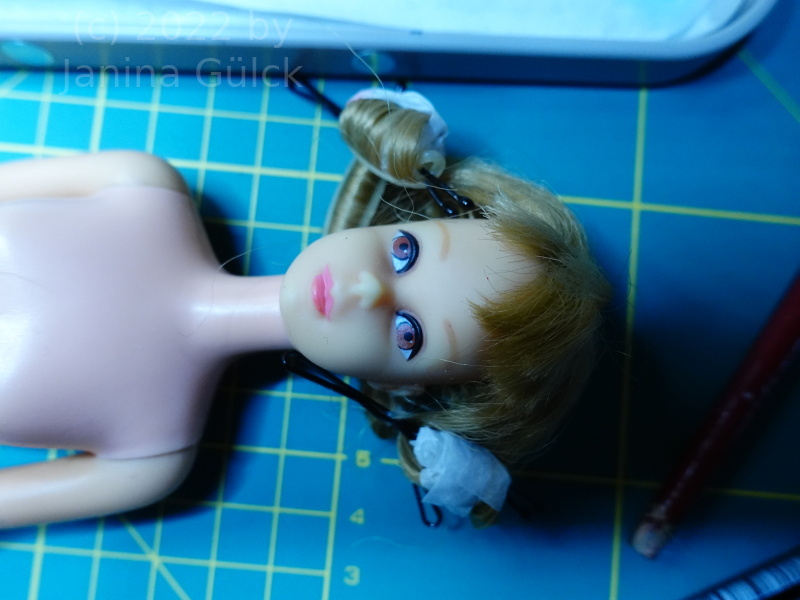
DSC08279
Francie after her repaint. No problem when you have the original colors.

You see it’s a lot of work. Being well prepared is never a mistake.
How to clean a Vintage Barbie body

One of the most discussed topic among collectors is the cleaning of the old dolls. When you ask one collector you probably will get 7 different answers and not all of them can be used without critical consideration.

I recently asked other collectors how they clean their dolls and the answers were partly alarming. I don’t use any chemistry that can harm a doll. You know that I really do research and read books before I do anything on my dolls. My method how to clean a Vintage Barbie body was obviously not known to a lot of fellow collectors. No, I don’t use any chemicals that could harm a doll. Where do I know this from? Well, I have a good book from an expert who worked in the chemical industry for toy production for almost 40 years. I only use rubbing alc and Q-tips and a magic eraser but not from Mr. Clean. I have a no name product, cheap and with a good cleaning power. Rubbing alc does the least damage to the doll.

From using dish washer tabs to the use of oxi I got a lot of expert answers how to clean your vintage Barbie. Is this good for your Barbie doll? I say no, you are destroying your vintage Barbie without knowing it. Before you use these cleaning products have a look at the ingredients. The more cleaning power products you use the worser it will affect your doll.

Some collectors swear to use CLR for removing green ears but what they don’t know is that it will dissolve your doll in the long term. Even if you use it only on cotton pads it will destroy your doll in the long turn. Why? The chemicals will start to eat up the rubber of the Barbie and cause a long time damage you won’t get ever rid of. Also don’t forget that you can entice fungicides with your actings. Fungicides are a big problem among Barbie dolls that nobody seems to care about.

Another “helper” I got to know was Chlorox spray cleaner. I have never used this stuff and I will never do so because what you can do is a doll that might be cleaner at the moment you use it but it can also lead to a brownish tone after the treatment. Not immediately but later.

Acetone was also recommended. Why? Do you want to dissolve your doll? Really? Don’t forget that this stuff can cause different kinds of cancer. Not to mention that acetone removes the plasticizer from your doll when you put your doll in a bowl of acetone for a longer time period. The result will be disgusting. I promise.

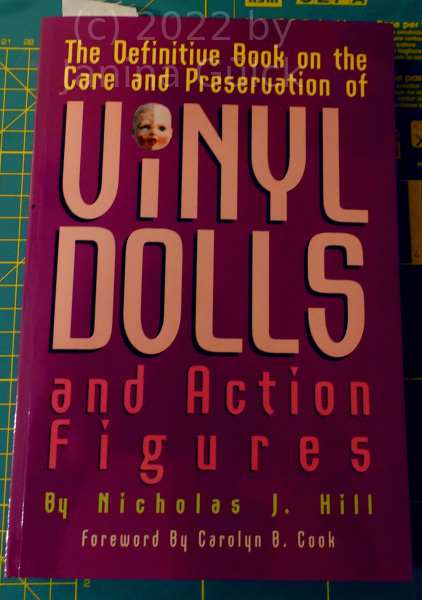
Where do I know all this from? Well, before I treat any of my dolls I read books about what I’m doing. I can recommend you this book

Vinyl dolls1

I hardly recommend any books here but this one is worth to be read because when you don’t know what you do here you can cause a big damage that you can’t make undone. In the worst case you can throw your dolls away. I would think about it twice. When in doubt let her be a dirty doll. That’s all I know about the topic how to clean a Vintage Barbie body.

Tutti, Todd and their problems

You have probably never heard of Tutti and Todd. No wonder. I also never heard of them for a long time. Even after starting to collect Barbie dolls I was for a while not aware that these dolls existed.

What’s the problem? Well, they were stopped to be in production almost a decade when I was born and I think they were not as wide spread as Barbie and the grown up family members.

Tutti and Todd are twin baby sister and baby brother of Barbie from the mid 60s until the mid 70s and then they disappear from the family and were never seen or heard of again. For a first impression I would like to link to https://fashiondollz.de/1965-tutti-todd-and-chris/#!gallery-1176-9939

D has always nice pics of a ton of Barbie dolls. But what makes Tutti and Todd so special that I dedicate here an article to these two twins? I recently bought a package with repair parts and among these dolls was a Tutti with a green leg and an open arm. So I was able to show you the wire inside the body. It’s the wire that causes the problem concerning the green arms and legs these dolls have often.

The wire reacted with some kind of liquid, often water. I think this problem is so wide spread because these smaller dolls were produced in one step while Barbie was produced in several steps. For Barbie you needed to produce the torso, the arms and the legs separately plus the head. For Tutti and Todd you needed only body and head. Here was at least a potential to save money and I think that these dolls now suffer from. https://fashiondollz.de/1965-tutti-todd-and-chris/#!

It’s something you hardly find information about but I think they are worth to be talked about even if they are out of production now for a long time. The little outfits have their very own charm and there are lots of outfits for Tutti and Todd around. By the way this Todd mentioned here has nothing to do with Todd https://fashiondollz.de/1977-ken-superstar/#!gallery-557-11415 from 1982, the groom of Tracy https://fashiondollz.de/1971-steffie-face/#!gallery-553-6993

The dolls are not related here. I know it’s sometimes a bit confusing. I hope you like this little article about Tutti, Todd and their problems.

What you need for a good Barbie repaint

I recently saw that lots of you are interested in the topic of repaint but I found no good video summing all thing you need in a video up. Some videos only show the direct repaint. Some videos only show the brushes, palettes or color but there’s no video where you find all parts combined in one video and giving you some bonus beginner mistakes to avoid.

What’s easier than doing it yourself when you don’t find the correct video for the topic you want to cover. If you want a video showing you an actual repaint, no problem use this here

From my experience I can tell you it’s not always easy to have the right things for repainting at the same time at home. That’s what I have within some years and I think it’s useful for most of you. I don’t think neither have heard about Liquitex ( when you are living in Europe neither from Da Vinci artist brushes). That’s why you should update your knowledge. It is useful to think about these items first, then you buy them and don’t have any negative surprises while you are working.

I bought mine over the last couple of years. I had no idea where to start neither where to buy. There were no videos on youtube. Of course there are some bigger channels than mine here doing repaints. On some channels you have millions of viewers but I don’t have them but want to inform you about repainting as good as I can. What is really helpful for the hobby of repainting is to get yourself a wet palette. I can’t tell it often enough but this little thing is a game changer. You can keep your colors liquid for at least a week. From my experience this is enough time for doing a proper repaint. I hardly needed more than a week. The sponge is great for this. The costs you have are around 25€ for this. It’s always a little depending on where you buy it.

Then you have the colors. I can’t recommend it often enough to use good quality color. The reason why I show here Liquitex colors is that when you use the cadmium free version of this color you don’t have any fear that the color will leave permanent color traces in the rubber of the head. You can see this sometime on Barbie dolls like my Jewel Hair Mermaid Teresa. She’s a nrfb doll but after 25 years somehow the color started to bleed into the adjacent rubber. Have look about what I talk about.

JHMT
Jewel Hair Mermaid Teresa with some traces of bleeding color

I know it’s very subtle but it’s happening and I simply want to warn you that this could happen to you too in case of using cheap or incorrect color. It’s not that everything is perfect in the Barbie world. I never said this but for future projects we can avoid the problem when we know where it comes from. That’s at least what I think here.

The biggest problem I had when I wanted to start with repaint was the brush question. I heard from other collectors what they used. I bought the brushed, made my first strokes and found out that they were way to thick for my problems. Later I accidentally came across very fine and thin brushes suitable for the project. I use a lot of Da Vinci Micro Nova brushes. They are not cheap but I’m satisfied. Since 2021 you can also buy the bend versions you can see in my videos.

Another problem I had when doing repaint was the color consistency. For most of the projects the paint was way too thick. I only use undeluted color for the white dots in Superstar Barbie eyes. For all the other projects I thin the color out. The wet palette is your friend here. Even if you have used way too much water it’s no problem. You have to wait a day and then the color will be okay again. Very helpful for beginners. So I hope that this little article gives you some more background information to understand what to do and what to avoid when going shopping or doing your very first repaint. Keep in mind what you need for a good Barbie repaint.