Table of Contents
Introduction of how to make a pair of shorts for a fashion doll
Welcome to the exciting world of DIY fashion! In this blog post, we will delve into the art of making a pair of shorts specifically designed for a fashion doll. If you’ve been wanting to explore this creative endeavor but have encountered difficulties in creating the right pattern, fear not! We will guide you through the process and reveal the trick to easily creating the perfect pattern. Let’s get started!
This was a topic I really wanted to work on for a long while but pattern making patterns is always time consuming. I already did a pattern for a pair of pants in the begin of the year but it was not perfect and I did not find the time to improve my skills immediately. In another way I never lost the interest in how to make a pair of shorts for a fashion doll. I saw a video where you could learn how to make a pair of short for your doll from a skirt pattern.
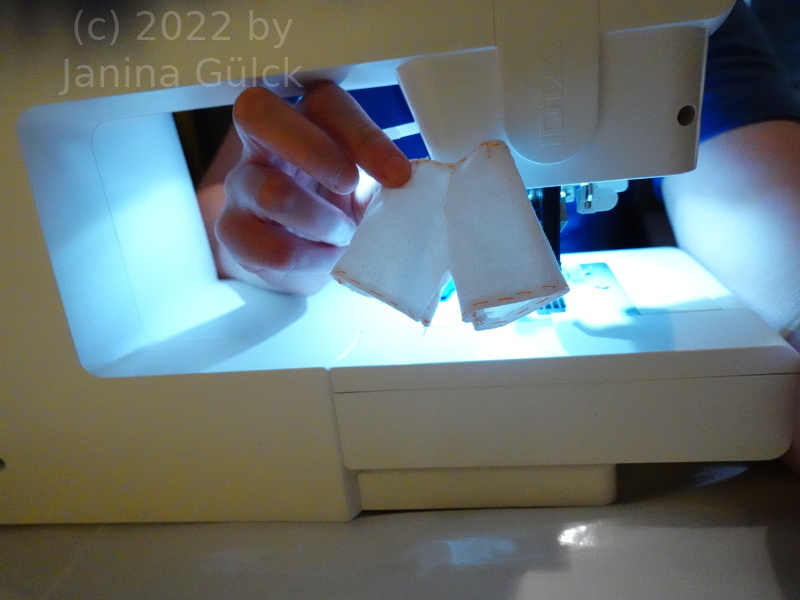
Materials for this project
Before we begin, let’s gather the necessary materials for this project. You will need:
- Fabric of your choice
- Scissors
- Sewing machine or needle and thread
- Measuring tape
- Pins
Step 1: Taking Measurements
To ensure a well-fitted pair of shorts, it’s important to start with accurate measurements. Carefully measure the fashion doll’s waist, hips, and desired length of the shorts. Note down these measurements for reference during the pattern creation and cutting stages.
Step 2: Creating the Pattern
Now that we have the measurements, it’s time to create the pattern for the shorts. Here’s the trick: start with a basic skirt pattern as a template and just adjust it a little. If you’ve had difficulties creating a pattern for normal trousers, don’t worry. We will simplify the process for you.
Begin by folding your fabric in half, aligning the selvage edges. Place the trouser pattern on the folded fabric, ensuring that the waistline matches the fold. Pin the pattern in place and carefully cut around it, resulting in two mirrored pieces. These will form the front and back of the shorts.
With this skirt pattern I tried to find my own mistakes from the beginning of the year. I knew my pattern was not perfect but I did not know where to start my improvements.
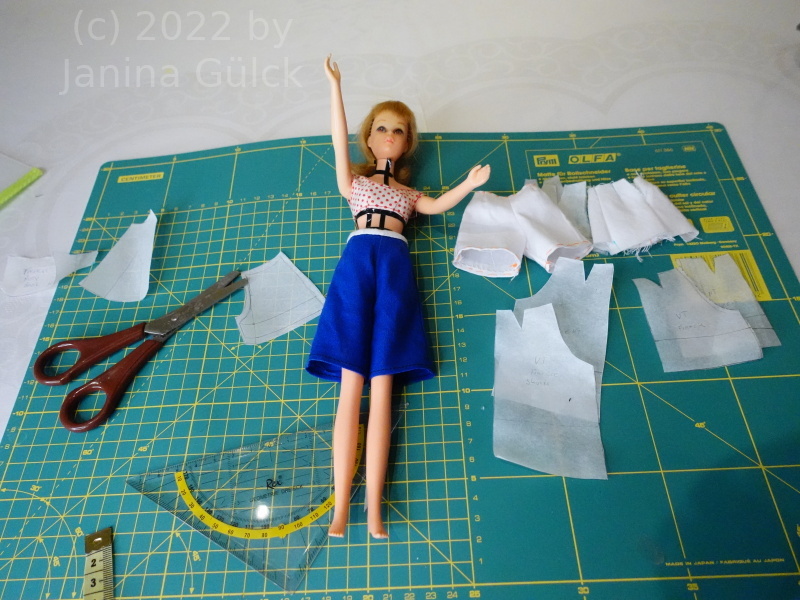
Step 3: Sewing the Shorts
With the pattern pieces ready, it’s time to sew the shorts together. Place the front and back pieces together, right sides facing each other. Pin the side seams and inseams, ensuring they align perfectly.
Using a sewing machine or needle and thread, sew along the pinned seams, leaving the waistline and leg openings open. Remember to reinforce the stitches at the beginning and end of each seam. Trim any excess fabric and finish the raw edges with a zigzag stitch or serger.
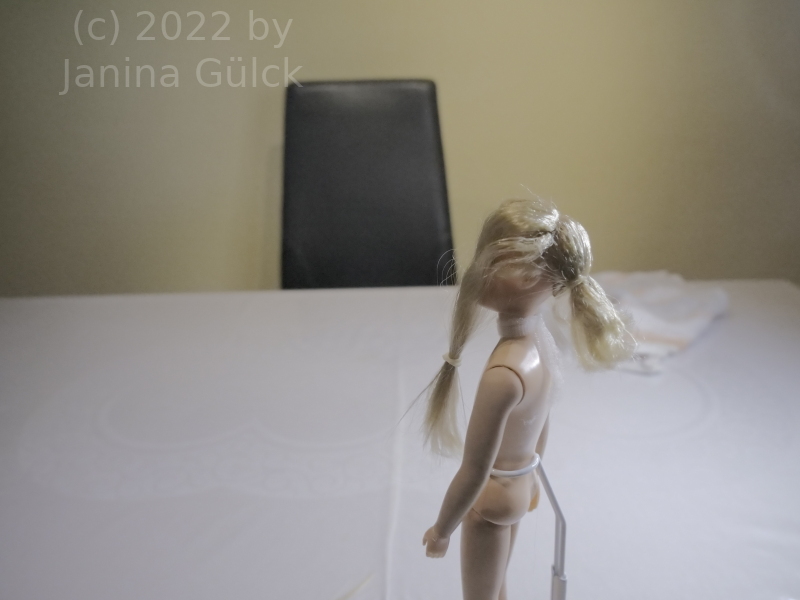
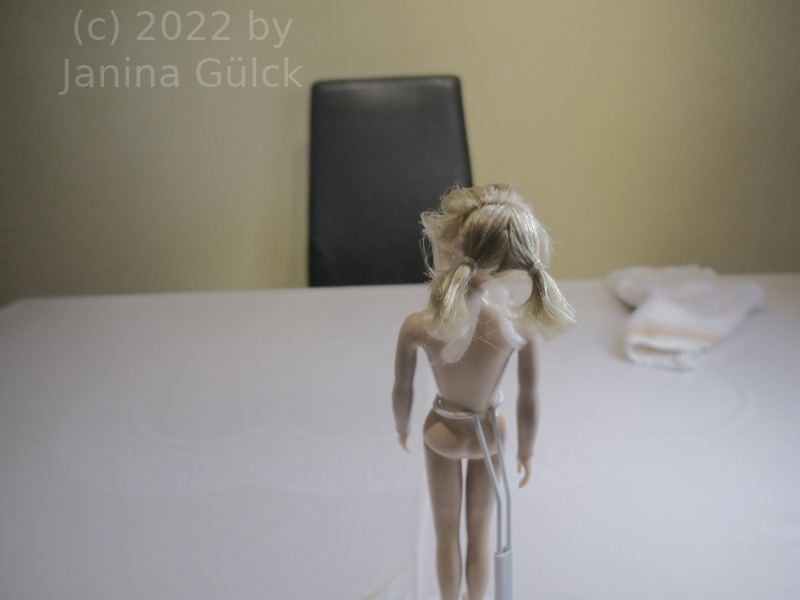
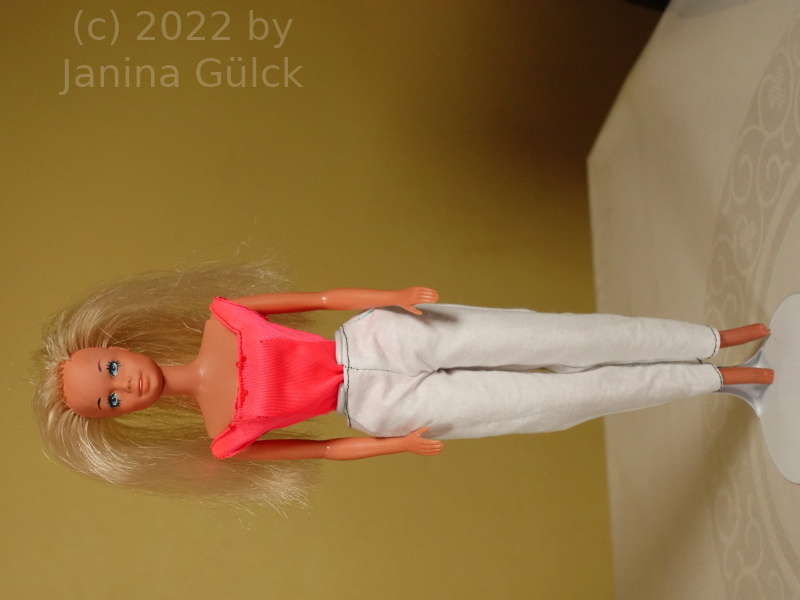
My pattern fitted my Francie very well and so I decided to work on this pattern for my Supersize Barbie as well. The pattern on her also worked very well. So now at least I have created a basic for my future work of how to make a pair of shorts for your fashion doll.
Step 4: Adding the Waistband
To create a comfortable and secure fit, we will add an elastic waistband. Measure the doll’s waist circumference and cut a piece of elastic slightly smaller to allow for a snug fit.
Fold over the waistline of the shorts, leaving a small opening to insert the elastic. Thread the elastic through the waistband using a safety pin or elastic threader. Once the elastic is completely inserted, overlap the ends and sew them securely together. Finally, sew the small opening closed.
I think I got the basics now and I can make the length longer or shorter for the dolls I have here. I think that’s one of the most satisfying things you can see when you want to improve your abilities as a tailor.

Step 5: Finishing Touches
To complete your doll’s fashionable shorts, take a moment to inspect for any loose threads or uneven seams. Trim any excess threads and press the shorts with a warm iron to give them a polished look.
If you want to learn how to do this very easy pattern transformation for your doll I can recommend you to watch the video below. It contains a step by step instruction how to do this yourself.
Conclusion of how to make a pair of shorts for a fashion doll:
Congratulations! You have successfully created a pair of stylish shorts for your fashion doll. By following our step-by-step guide and understanding the trick to pattern creation, you can now venture into the world of DIY doll fashion with confidence. Be sure to experiment with different fabrics, patterns, and embellishments to create a diverse wardrobe for your doll. Happy crafting!
