All the Things I Use for Restoring Barbie Dolls

When it comes to restoring Barbie dolls, there are several essential tools that I rely on. This blog post will delve into the various items that I use to bring my Barbie dolls back to their former glory. From cleaning to repairing, these tools are essential for maintaining and preserving these treasured collectibles.

Cleaning Barbie with Rubbing Alcohol and Q-Tips

One of the essential tools for cleaning Barbie dolls is rubbing alcohol and q-tips. Rubbing alcohol is a powerful disinfectant that helps remove dirt, grime, and other impurities from the delicate surface of the dolls. Using q-tips, I can gently and carefully wipe away any accumulated dust or dirt without disturbing the doll’s delicate features.

Things you should know :Cleaning Barbie Clothes with Boost

When it comes to cleaning Barbie clothes, I rely on a product called Boost. This specially formulated detergent is designed to gently clean delicate fabrics and help remove stains. By using Boost, I can restore the vibrant colors and pristine condition of Barbie’s outfits, ensuring that they look their best.

Things like Remove Zit, Poliboy or dental tabs for Vintage Barbie with Green Ears

Another challenge that can arise when restoring Barbie dolls is the removal of green ears. Vintage Barbie dolls with green ears often suffered from this problem, but luckily, there is a simple solution. You have different options when you treat green ears. You can use Remove Zit when you get it in your country. There’s also a liquid with the name Poliboy for cleaning silver available in Europe. Danchlorix is another secret weapon I heard of but never used it until now. It’s a liquid used for cleaning toilets. Recently I head of a new solution called Bar Keepers Friend Power Cream available via amazon but I have neither used Danchlorix nor Power Cream.

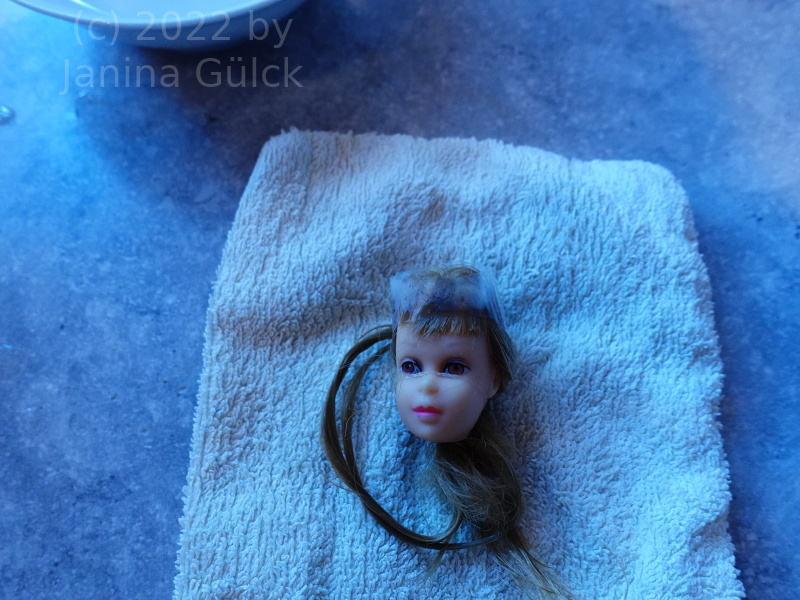
Dental tabs are highly effective at removing yellow, and they work just as well on Barbie’s skin as they do on our own. Simply apply the dental tabs over night or over two nights, let the head rest in the solution as long as the yellow is gone, and then gently let the head dry on a towel.

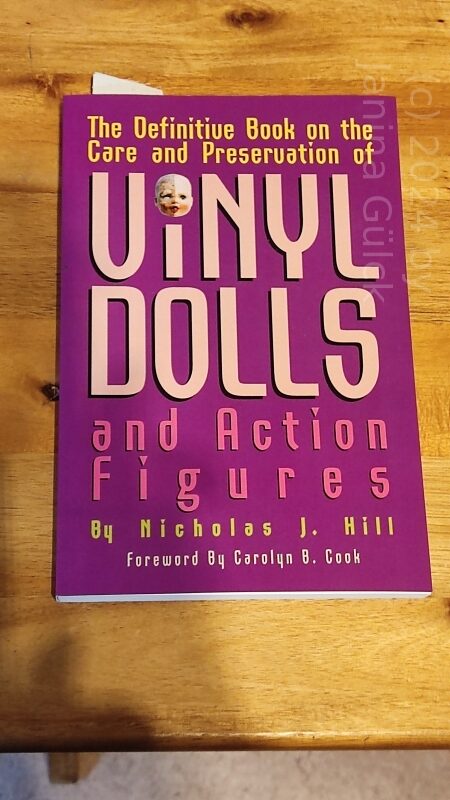
Please be careful when using CLR, a cleaner wide spread in the USA. When used like Poliboy it can destroy the head in the long term. I don’t know about the content but a chemist who worked in the doll production industry wrote about the problem in his book that I can recommend to all of you.

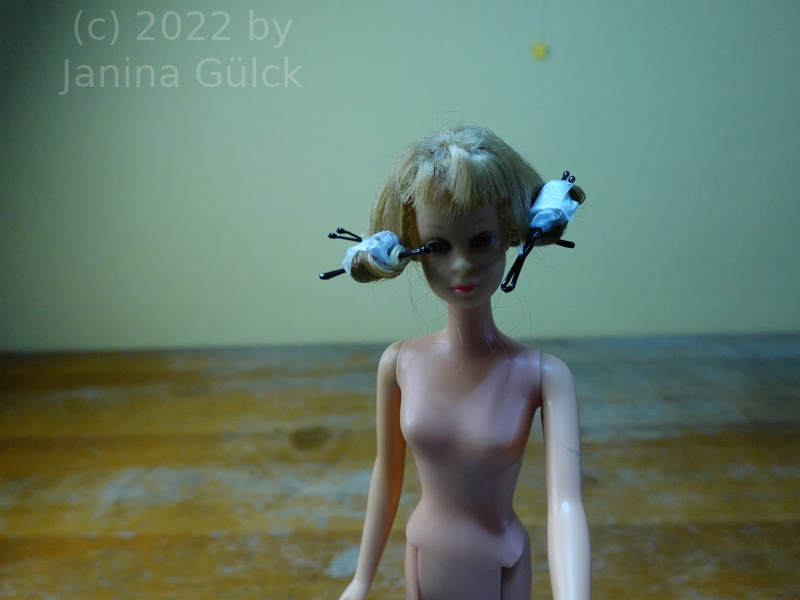
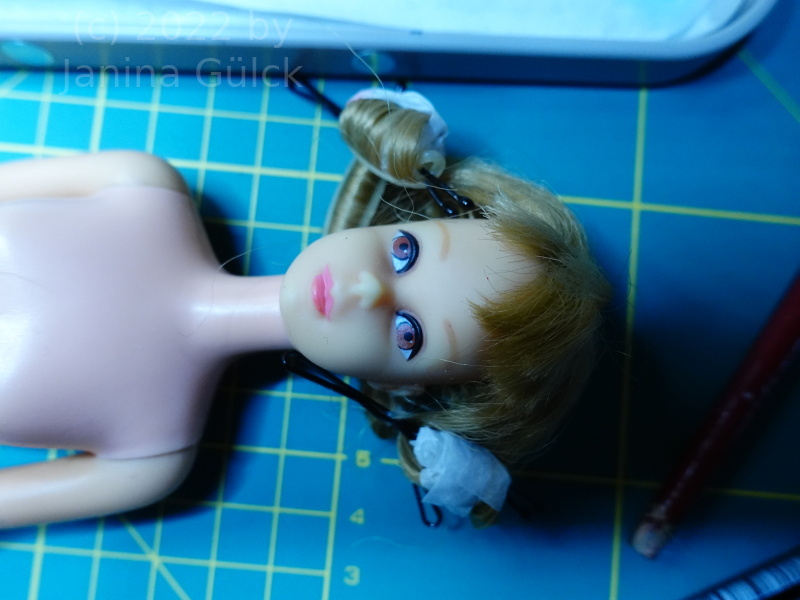
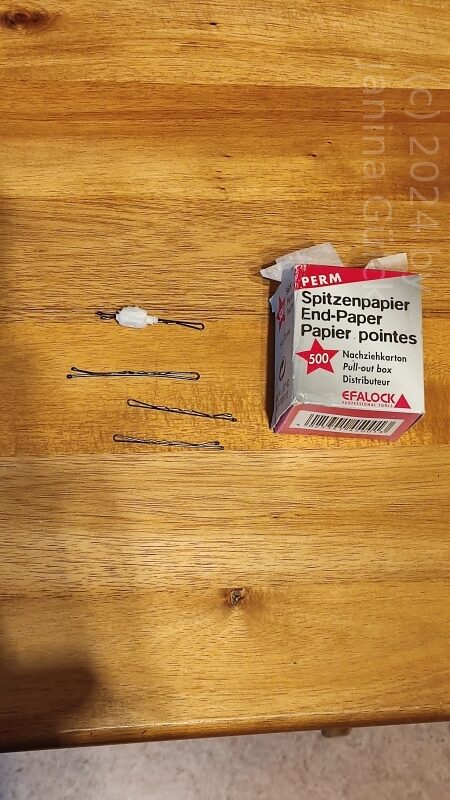
Bobby pins and end paper rotated
Bobby pins and end paper

An electric kettle is useful for different things

From taking Barbie head, legs and arms to hair style an electric kettle is versatile for Barbie restoration. For removing heads, arms or legs or restoring hair and curls it’s a super versatile thing to have.

Super handy and not forgotten – Things like a toothbrush and bobby pins

We also should mention here that a toothbrush is always useful when you are working with Barbie. Especially when your dolls are older than 40 years they can become fragile and it’s a good idea to use a toothbrush to bring their hair in shape again. Bobby pins are another secret weapon when you have to deal with Vintage Barbie dolls ( 1959 – 1966) to get the curls back in they may have lost over the years.

Fixing Push Buttons with Needle and Thread

Fixing push buttons on Barbie dolls is a breeze with needle and thread. Many vintage Barbies had these tiny buttons that could easily come loose, but with a bit of patience and a steady hand, you can easily sew them back on. Start by carefully removing the button from the doll’s clothing, making sure not to pull too hard and damage the fabric. Next, use matching thread and a sewing needle to sew the button back on, being careful not to catch any stray threads on the doll’s body. With a little patience and attention to detail, you can restore the functionality and beauty of these beloved buttons.

Vinyl dolls preservation book rotated
The definitive book on the care and preservation of Vinyl dolls and action figures

Conclusion

In conclusion, restoring Barbie dolls requires a carefully selected set of tools. Using rubbing alcohol and q-tips, Boost for clothing cleaning, dental tabs for zits, and needle and thread for repairing push buttons, you can bring your Barbie dolls back to their former glory. Remember to handle these collectibles with care and cherish them for years to come. If you want to read more about Barbie cleaning I wrote an article two years ago https://barbie.final-memory.org/how-to-clean-a-vintage-barbie-body/ and if you want to read more about Barbie cleaning you can read more here https://hobbylark.com/collecting/How-to-Restore-and-Clean-Barbie-Dolls
Francie and how to restore her

I have not made much videos about Francie in the last two months. The reason was that I had problems to find a tlc Francie for this project. I came across a body without a head and then suddenly there was a perfect Francie offered, perfect for this project. The seller said she was tlc but even tlc is not for free. I bought her.

DSC08264
Francie before the reroot, some streaks are missing

Some days later she arrived in her parcel. I must say I expected her in a shape worser than you can imagine but this was not the case. In fact I see her potential. Yes, this doll is almost in her 60s but does it stop me to repair her? The answer is no. I sometimes really enjoy these bigger projects where you can use a lot of creativity to restore them.

As I already mentioned in my last repaint video I don’t recommend you to start without the correct material ( link https://barbie.final-memory.org/what-you-need-for-a-good-barbie-repaint/ ). Buy everything you need for the project in advance or simply have it at home when you plan your project. It’s good when you have a time schedule in advance. For making this video I needed at least 2 weeks. It’s not the pure time you need but you need to consider that things like hairs have to dry at least for 24 hours when you want them to be dry for your next step.

I also have a little endoscopic camera for my projects so you can think of buying one before you start ( if you want to work with one). Then arrange to have the hair at home. I know this may sound weird but I prefer to have a big box with hair at home before I do anything. This gives me a creative feeling. I need some positive vibes before I start. In my case this vibe is created when I can have a look into my hair storage or my acrylic paint storarge or my brush glas. I have all my brushes in one glas. I think it’s a handy dandy way to start. Have everything at home before you start.

DSC08267
Francie after re-root but before repaint still drying

Before I actually started with my video I made a plan how to start what to show, what to do at first, what to do next and so on. I wanted to have some logical steps in a plan before I started to film. So I could make sure that nothing was forgotten.

I my case I started with the head but as you can imagine I wanted to have a look into her head before I started to reroot her. This was a kind of safety insurance not to expect anything unexpected. I checked the pattern of hair in her head way before I started to reroot. When you see there is a destroyed pattern in the head you have to repair it before you can replace missing streaks. Then continue with the hair. After having inserted the new steaks you have to flatten the new streaks.

For this you need at least a day for the drying. Good. After that you can cut the hair. I recommend combing the hair before you cut it. Use a good pair of suitable scissors. I have a professional pair of scissors for cutting hair but it’s for right handers, not lefties. That’s why I use my pair of embroidery scissors here. Works.

DSC08272
Francie with curlers

After cutting you can curl if you want to. I did this in my case to have the hair out of the way for the repaint. So I used the hot and cold bath method for the curlers and started one day later with the repaint. Before doing the repaint I put my brushes and colors on my desk and prepared my wet palette. After finishing the repaint I waited 24 hours before I used my sealer. After another day I took her curlers out, finished the styling and prepared everything for the final scenes.

DSC08279
Francie after her repaint. No problem when you have the original colors.

You see it’s a lot of work. Being well prepared is never a mistake.

What to do when the hair is sticky… problems with Superstar Barbie

Maybe some of you had the problem of sticky hairs. Barbie dolls from the 1980s often have this problem. Sometimes even when they are NRFB. The cause for the stickiness is the softener that is contained in every doll head. I have no idea why and I’m not good in Chemistry but I know that it (the softener) managed to get from the head into the hair. The good news is that you can get rid of the stickiness. It’s no problem. At first all you need is a bowl with lukewarm water, normal hair shampoo (the brand doesn’t matter) and conditioner. Dip the the head of the doll into the bowl. When the hair is wet put a mixture of shampoo and conditioner mixed together in one of you palms and massage it softly in her hair. Then put the hair in the bowl. The important thing is that the hair has to be in the bowl for at least twelve hours. For the next step you need a big cooking pot. Fill it with water, put it on the stove and switch it on. Wait until the water is cooking. Then put the hair and the head in there for 5 minutes. Insure yourself that the hair doesn’t touch the walls of your cooking pot. It’s going to melt when it does touch the walls of your cooking pot.  After that you can remove the the head from your cooking pot. Use a guest towel for the drying process. Put the doll towel and wait until the hair is dry. Then the stickiness should be gone. If not, repeat the process for a second time.  My doll needed the process two times.

Please consider that you should only do the process with dolls from the 1980s. When you do it with Fashionistas the result might be that your doll is bold. The method of how the hair is fixed inside has changed in the last decade.