Table of Contents
The idea for the diy tailor’s ham in Barbie size
Welcome to today’s blog post, where I’ll be sharing with you my ingenious idea of creating a DIY tailor’s ham in Barbie size. Now, you might be wondering how this idea came about. Well, it wasn’t actually my own idea to create one. I stumbled upon it while browsing through YouTube, where I saw a tutorial for making tailor’s hams for taller fashion dolls. However, I couldn’t find any instructions specifically for Barbie dolls. So, I decided to take matters into my own hands and invent my own Barbie-sized tailor’s ham. In this blog post, I will guide you through the step-by-step process of creating this handy tool for your Barbie doll’s sewing needs.
Materials Needed:
Before we dive into the tutorial, let’s gather the materials required for this DIY project. Here’s what you’ll need:
1. A small piece of cotton fabric
2. Hamster bedding or cotton batting
3. Sewing needle and thread
4. Scissors
5. Measuring tape or ruler
6. Optional: fabric marker or chalk
Step 1: Preparing the Pattern
To start, we need to create a pattern for our Barbie-sized tailor’s ham. Measure and mark a rectangle on the cotton fabric, approximately 5 inches long and 3 inches wide. This will be the base of our tailor’s ham. Next, draw curved lines on the short edges of the rectangle, mimicking the shape of a traditional tailor’s ham. Cut out the pattern carefully.
Step 2: Sewing the Base
Fold the fabric in half lengthwise, with the right sides facing each other. Pin the edges together to secure. Using a sewing needle and thread, stitch along the curved lines, leaving a small opening at one end to allow for stuffing. Remember to backstitch at the beginning and end of your sewing to reinforce the stitches. Once you’ve completed the stitching, trim any excess fabric and turn the fabric right side out.
Step 3: Stuffing the Tailor’s Ham
Now comes the fun part – stuffing the tailor’s ham! Take small amounts of polyester fiberfill or cotton batting and gently stuff it into the opening of the ham. Use a pencil or the blunt end of a knitting needle to push the stuffing into the corners and ensure an even distribution. Continue stuffing until the tailor’s ham feels firm but still soft to the touch.
Step 4: Closing the Opening
Once you’re satisfied with the stuffing, it’s time to close the opening. Fold the raw edges of the fabric inside and neatly hand stitch the opening closed. Make sure your stitches are secure and hidden within the fabric.
Step 5: Finishing Touches
Congratulations! You’ve successfully created your very own Barbie-sized tailor’s ham. Give it a gentle shake to distribute the stuffing evenly and shape it into its desired form. Your tailor’s ham is now ready to be used for all your miniature sewing projects!
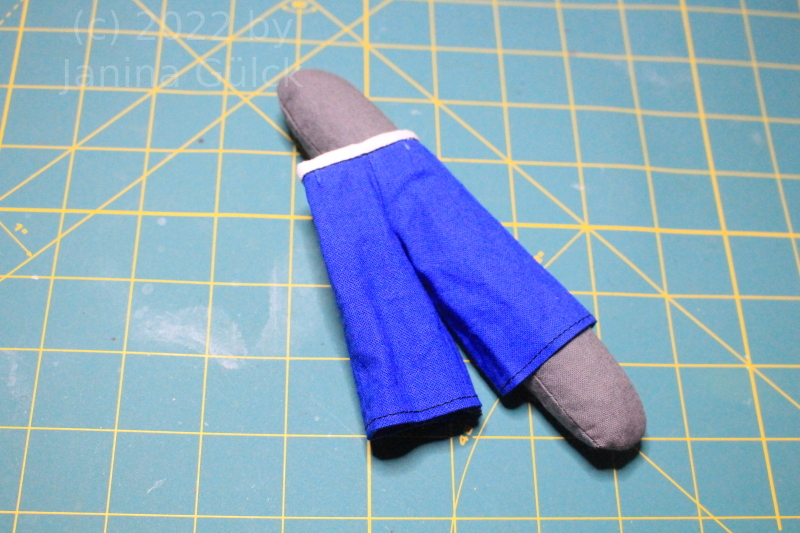
If you can’t buy do the tailor’s ham in Barbie size or Francie size yourself
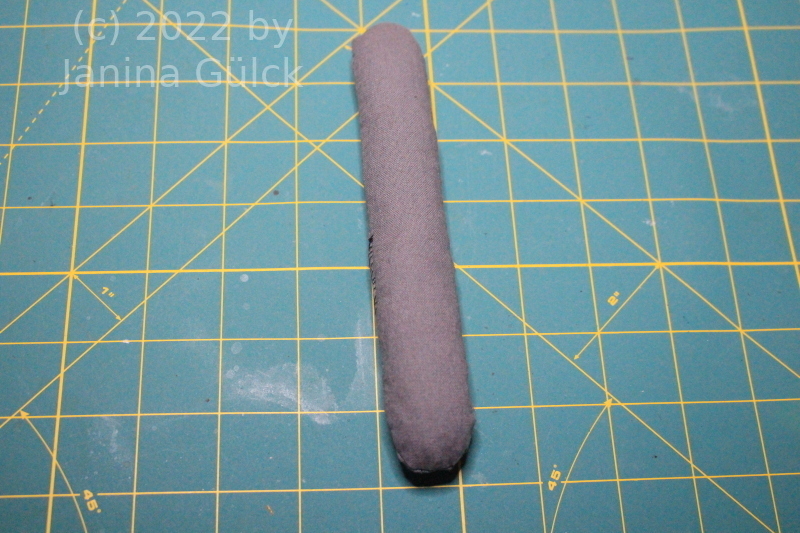
Yes, of course there are several videos about how to do your own tailor’s hams out there. It’s not very hard to do your own version of it but I needed a special form because a normal tailor’s ham is way to big for miniatures. I needed one for skirts and trousers and one for armholes. Armholes are the hardest to iron projects when you don’t have the right sewing supplies.
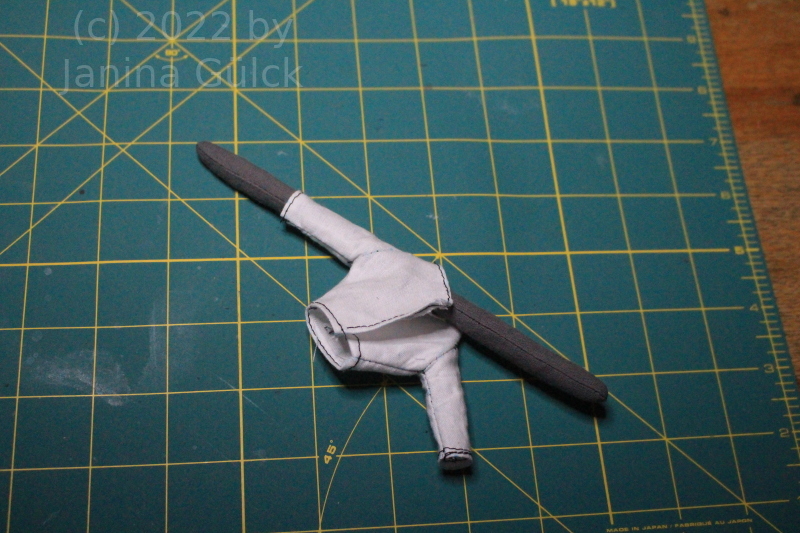
In the past I had the problem to put the arm through the armhole because the seam was in the way. I’m not perfect in doing arms and armholes. I’m still practising to come to perfection one day but for my projects it’s working at the moment. Just needed a way to improve my possibilities in supplies here. I hope this will make the process easier in the next projects.
I also have a mini ironing board for Barbie dolls but I have not used it often because the arm part did not fit the way I hoped it would. It’s a nice idea and for some projects it will work but not for all projects.
I hope that my idea helps you out there too to diy your own tailor’s ham without spending a huge amount of money. You can do it in any shape you like. It’s completely up to you. I don’t want to urge you to do it the same way I showed it here. You can tailor it to any size you may need and that’s one positive thing for me because you are not dependent on any industry.
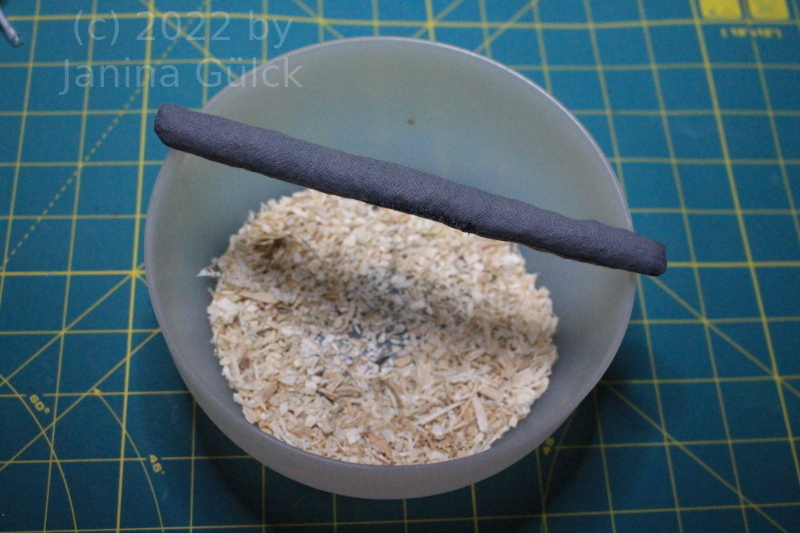
For those of you interested in the filling it’s something very easy. For tailor’s ham bedding is used like you can see in the pic below. It’s the stuff that you used for cages for Hamsters, Bunnies and so on. It’s easy to get and cheap. This was not my idea. In my research I used other videos and blog posts.
Other diy tailor’s hams on youtube for taller fashion dolls and humans
In this blog post, we explored the world of DIY sewing tools for Barbie dolls and learned how to create our own tailor’s ham in Barbie size. Although the idea was not originally mine, I took inspiration from a YouTube tutorial and adapted it to suit the needs of our beloved fashion dolls. The tailor’s hams for humans were way too large and other youtube videos did not show their measurements. To solve the problem I played around a bit to find the right measurements and now, you can enhance your Barbie doll’s sewing experience with this handy and functional tool. So, gather your materials, follow the step-by-step instructions, and start creating beautiful miniature garments with your very own diy Barbie size tailor’s ham. Happy sewing!
