New dolls in my collection

I was recently asked about the new dolls in my collection by some viewers and that’s what this article is all about, new dolls in my collection.

As you probably know I don’t collect just for the reason of having a huge collection of dolls that are in bad condition. I’m specialized in Barbie dolls but I don’t collect every doll I find. I can’t do it because of lacking space. I try to buy only what I think is worth to be collected. Some of you may have another opinion. We don’t have any Goodwill here and we had no flea markets since the begin of Corona. Used toys are rather thrown away than being sold in a store. For used clothes it’s no problem but used toys are not common to be sold in any nationwide store chain. In big cities you sometimes have antique store but it is not the rule that you find anything there.

Sometimes you can find dolls on ebay but in most cases they are overpriced. Shopping is not the fun anymore it was when I started to buy there some 20 years ago. A lot has changed since then. The Francie you already saw in the last weeks here on my channel as a big restoration projects was indeed an ebay find. It was really a coincident to find one.

DSC08264
That’s the Francie I’m talking about her

Her had some traces of the last 50 years and I restored her. You can find the video under this link https://youtu.be/9B-YvDwIKU4

It’s a very popular video on my channel. It’s worth to be seen. Anyway you can learn a lot in restoring a Francie doll. Francie is the cousin of Barbie and at the moment I really like to do videos with her. You can see this doll in the next weeks on my channel again since she’s not completely finished now. She still has a cut in her arm and she will get a replacement arm. This video will follow in the next weeks. So stay tuned in.
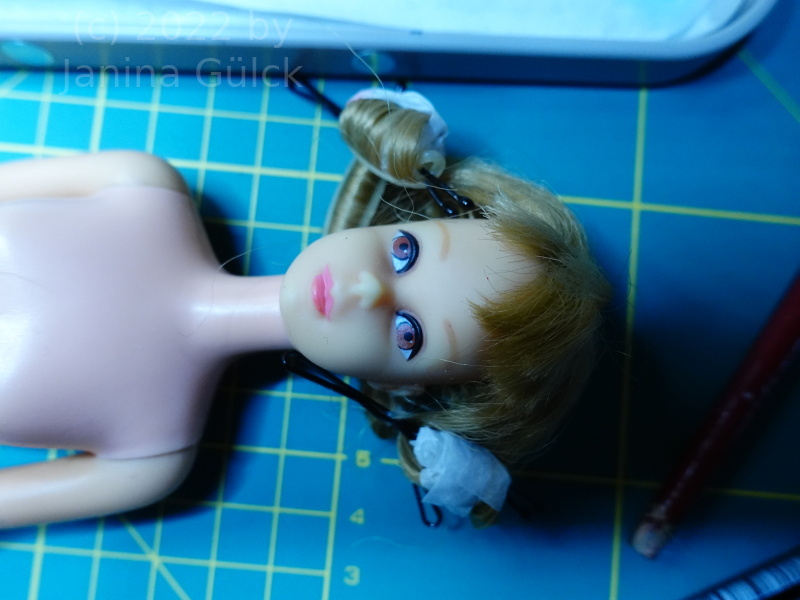
DSC08279
Here’s one of the last steps in the last video. She had already gotten a repaint.

She was not the only doll I found. I also found 3 more dolls. In March I saw three male dolls for sale and purchased them. You know I’m a big fan of Ken but I only have a very few early pieces. That’s how these dolls came into my collection. I found #1 Ken, the very first one from 1961 and one edition from 1964/1965 I think. Both have straight legs, no knee joints. My Francie is also a straight leg doll. These dolls have the advantage that you don’t have any problems with green knees.
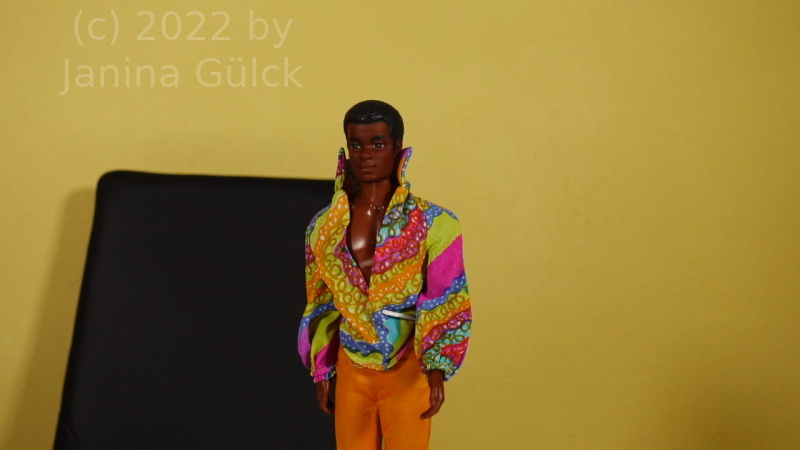
C1327T01
Free Moving Curtis

Free Moving Curtis from the early 1970s is the only doll with knee joints and a sphere for being super sporty where humans have their stomache. I had no Curtis before and that was my chance to buy my very first Curtis. They are offered very seldom in Germany.
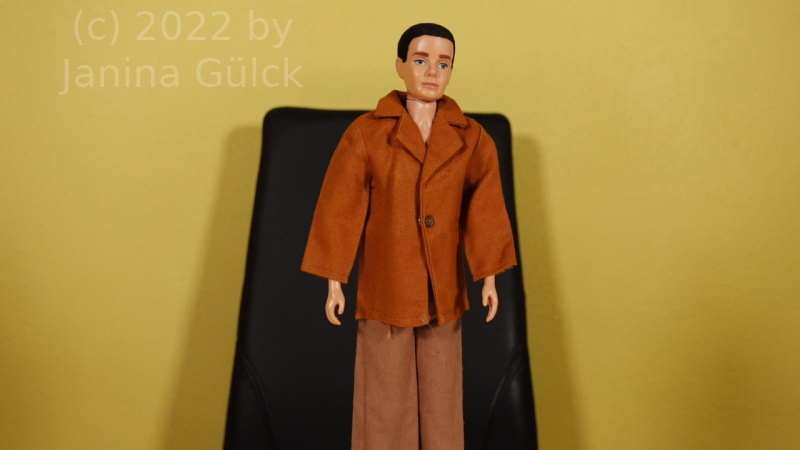
#1 Ken
#1 Ken

The #1 Ken got my attention because his flocked hair is still perfect. I don’t know if any girl ever played with him. He’s still looking perfect.

The last Ken I found is the following one. He had also a perfect painted hair. No missing paint is also hard to find. That’s why he also hopped in my shopping bag. All my other Kens from the early years are not perfect. The offer was too good to reject it.
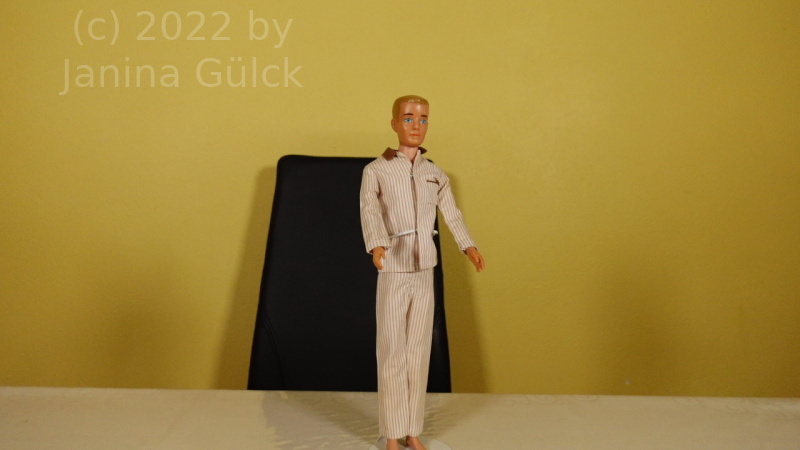
C1324T01
Late Straight Leg Ken, ca. 1963/1964

How to make a pair of pants for Barbie

I know it’s not an easy topic. I actually wanted to know how to make a pair of pants for Barbie for a long time but I had my difficulties with the how to. Why? Because I misunderstood how to draft the patterns. This was really a hard topic for me for a while. I always wanted to be able to do patterns myself but the way to figure the right way out was the hardest task on my journey.

Should you give up when you are in this situation too? I would say no, definitive no. Continue. Go on and the best thing is that you can use my videos as an instruction. You only need greaseproof paper, a biro, a ruler, some thread and here you go. Additionally you can get yourself a green map like the one you see here in my videos. Mine was in a bundle with a roll cutter.

Then you go and get your measurements. I admit I did not use any of my books but a lot of videos to understand the basics of making a pattern for a pair of pants. From a very early age on I wanted to make designs for Barbie, thought I could simply use the Fashion Designer, you know this PC software from the 1990s for Barbie.

Indeed I wanted it when it was released but it was extreme expensive. I think it was around 60 DM. That would be around € 44,17 in Euros today. Would you have paid so much money for such a piece of software? I admit I wanted it but I was only 10 years old back then and easy to influence. To come back to the point. The program would not have helped me back then since a) the measurements on paper are different than on fabric and b) all the designs were already finished designs that you only needed to combine.

DSC08323
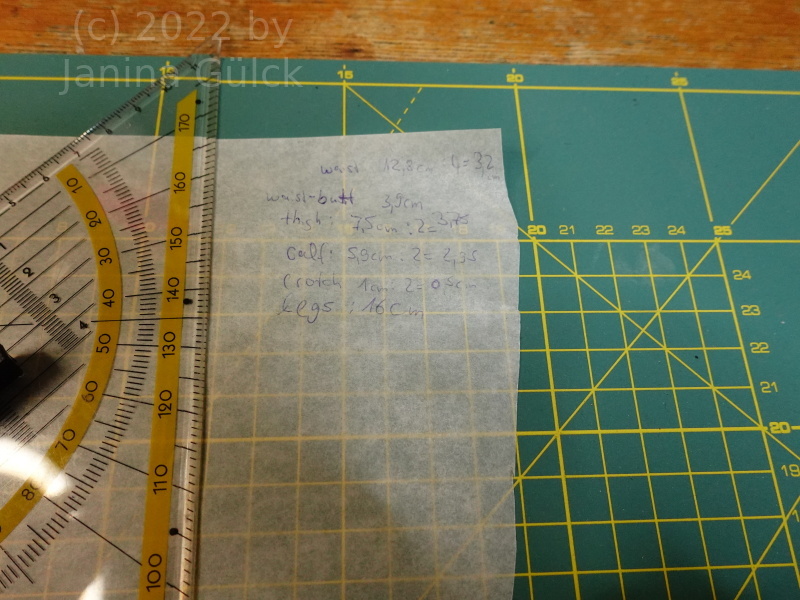
Measurements I used for the pair of pants you see below

Seen from the point of view today it would have been interesting for about an hour or maybe two for me but after that I would have been boring. In general I had hoped that they would tell you how to do your own designs but in times before youtube and facebook it was hard to publish your own videos. The whole internet thing was just in the beginning. In case you’re too young to know this game here’s a link https://oldgamesdownload.com/barbie-fashion-designer/

DSC08334
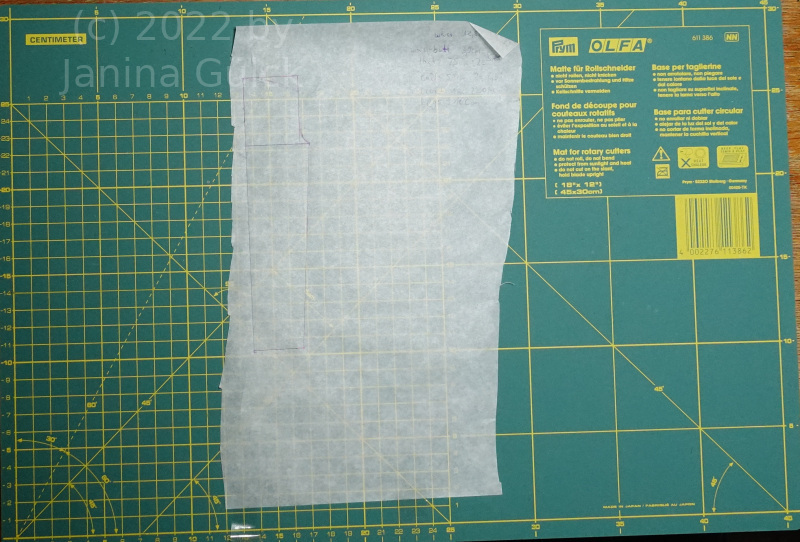
Draft for the pair of pants you see below

As always I had to go my own way to get the results I wanted. For the pair of pants I needed longer than planned but better late then never. Like already mentioned in other videos I had my difficulties to understand what I’m doing in pattern making, completely misunderstood that the waist is an important part when doing designs. This is also true for a pair of Barbie pants or a pair of pants for other dolls. You can modify the pattern in a very easy way. Just take the measurements I show in my video at the end of my video. It’s not really hard. When you already know something about darts then this video should be no problem. I don’t show the darts here because you have to adjust them after sewing the pair of pants for the first time. It’s not hard I guess you can do it by yourself when you are a bit into sewing.

DSC08313
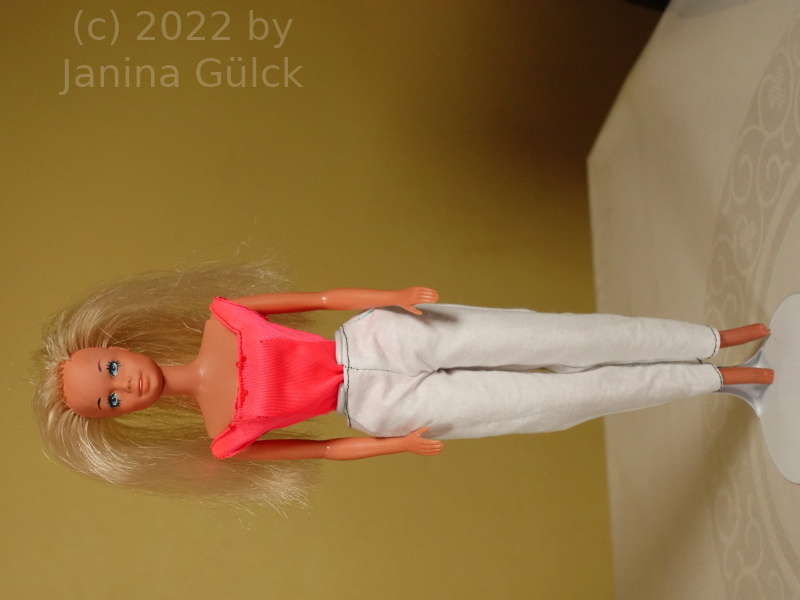
A pair of pants made by Busy B from Germany


How to rescue an Alan with stains?

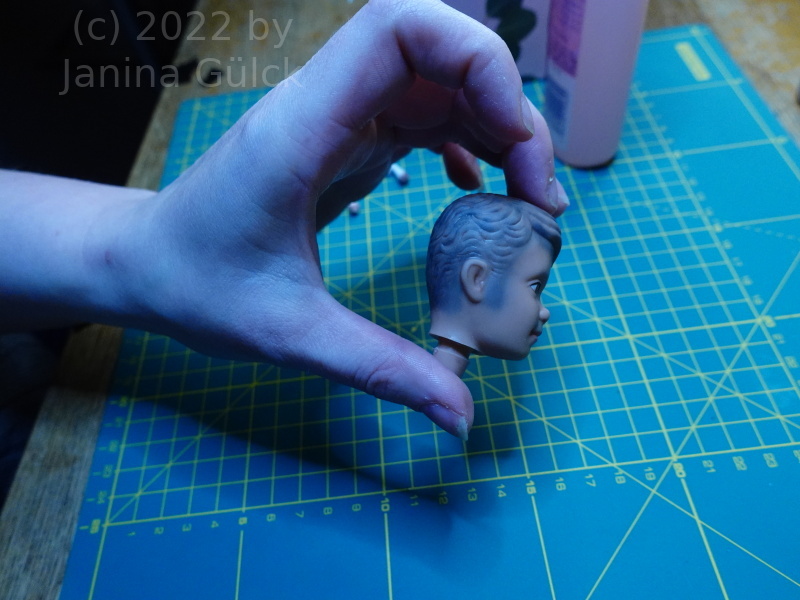
The question how to rescue an Alan with stains was the latest idea for a video. I got an Alan head with stains in January or February. He had lost some of his hair color and he has been the victim of a child who painted the head black. Maybe this was in the 1970s? I have no idea but the black is very durable and moved into the head itself and made a connection with the rubber of the head so that a removal was very hard.

DSC08287
Alan with Remove Zit

I know that you have to be very patient with removing stains even when they are ink stains. It’s time consuming and you need a lot of sun light. For the rescue of Alan both things were missing, like often when you want to do a video but the time is limited.

At first I wanted to remove the stains with Remove Zit, good idea but it failed I think due to the color of the ink and missing sun light. It’s not that Remove Zit is not working. Anyway rubbing alc and Q-tips did not work but I already imagined it. Another idea I had while working on the head was to try the Stain Devil. That’s a stain remover I have already used for removing black stains from Barbie feet or heads. The black part was however much bigger this time than the last time I used it.

DSC08291
Alan after removing his leftover hair

I thought it was a worth a try after having removed the reddish hair color of Alan. At first I thought I could get the black totally of but I underestimated the color. It’s hard to get black off completely. I don’t know the content of ink but it’s an awful substance when you have to remove it from dolls or clothes.

DSC08298
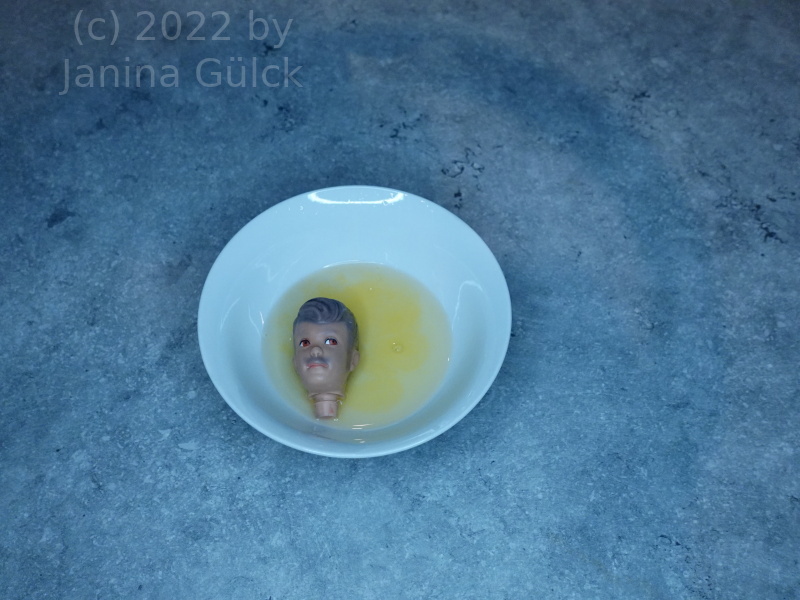
Alan in Stain Devil bath

I simply don’t like it. However this meant not that I had to throw the head away. I simply made something complete new out of him. After realizing that the black won’t come of as I hoped I decided to do a OOAK Alan. When you can’t remove all the ink use the same color again. That was at least the idea here in this how to rescue an Alan with stains project. I used black color to paint his head and painted over the spots that contained black.

A “Solo in the Spotlight” for Francie?

In the last weeks I came across the idea to create something new for my little Francie. I love to be a creative artist and I really enjoy designing own clothes for my famous fashion dolls. I could do it all day long but I hardly have the time to do it but I really love to do it and use the time for creativity. That’s how the idea a “Solo in the Spotlight” for Francie came into existence.

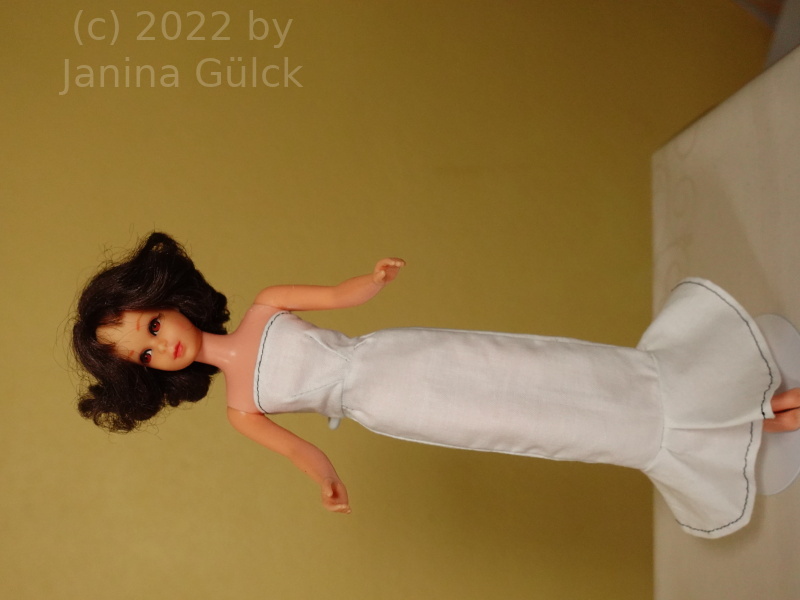
In the last year I created a lot of easy clothes for Francie, the cousin of Barbie. In January I had the idea to make something like a “Solo in the Spotlight” for Francie. It’s a night club gown. I don’t have this dress yet so I give you a link that you know what I’m talking about. https://www.fashion-doll-guide.com/Vintage-Barbie-Solo-In-The-Spotlight.html

I created a top for Francie last year when I did a kind of circle skirt-dress for her and I used it for this idea too because it fits quite well. Then last autumn I played around with designs for skirts. I tried to make a pencil skirt for her. That was not very hard. You can see how I did this here https://youtu.be/IilLSlJTXFE and here https://youtu.be/Allj1knKfLg

It’s basically the same pattern. Then I added a the pencil skirt, made it longer and added the circle to the bottom of the skirt. The idea for this circle came from the Barbie Fashion Designer program Mattel published in the 1990s for PCs. I know the fashions don’t really fit when you put them in fabric. You have to re-design them for fabric but it’s ok. You can work with them when you know how to modify them. Now they are almost a picture of their time. I mean the 90s are almost gone for 2 decades but I’m really happy to have lived on earth back then and I’m glad I have these old PCs programs running on my old PC. I also have an old printer for printing them.

The idea behind the dress was simply to test if my idea would work out in the way I wanted it too. I did some tests and I worked out in the way I wanted it to. I know I always use white or another simple color for my tests but for me it’s okay. In the next weeks I plan to do more of these simple pieces of clothes. You know when you have some basics you can play with them and can put them together in a very creative ways. That’s my idea at the moment. I just want to play around a little bit with the pieces I have at the moment and put them together in new creative ways so that you can get new pieces with low effort.

DSC08320
A “Solo in the Spotlight” for Francie

It was not important here to make a realistic piece of clothing from the 1960s. Some other collectors complained about that it would have been unrealistic but I think we are not in the 1960s anymore. It does not matter here. The idea behind this whole project is still if it is possible to create a “Solo in the Spotlight” for Francie, not the question if it is a realistic dress or not.

How to repair Plush Pony from 1969

Maybe some of you remember this outfit from the late 60s. It’s very modern and it’s called Plush Pony. Somehow this outfit reminds me of a cow skin with the black spots. I have to tell you this here. Plush Pony mainly consists of the colors black, white and orange. Today I would like to talk a little bit about how to repair Plush Pony from 1969. This is an outfit worth to be repaired.

Another collector sold this outfit to me as project for repair. You know every now and then I get the chance to buy the broken outfits for a low and this is the case here. The seller is one of my silent admirers. In the last weeks I finally found the time to repair it. It was on my to do list for the last months but I hadn’t done it earlier. I need some positive vibration when doing this. I hate to do it when I’m under time pressure. That’s one of the worst things you can do when repairing a doll.

C1273T01
Barbie Plush Pony

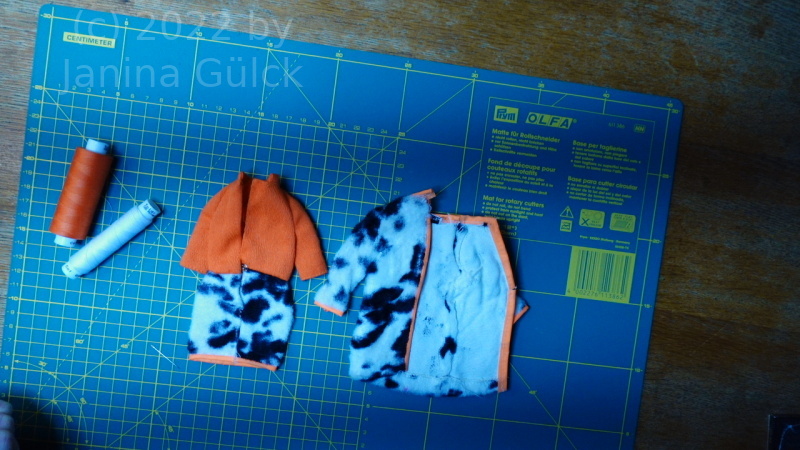
The things that expect me were the age. The trim became stiff within the 50 years of it’s existence. That was the hardest problem to deal with due its stiffness. So I decided to my best to get it back on the fabric. The repair of the dress was easier. It had a common problem with open seams.

C1278T01
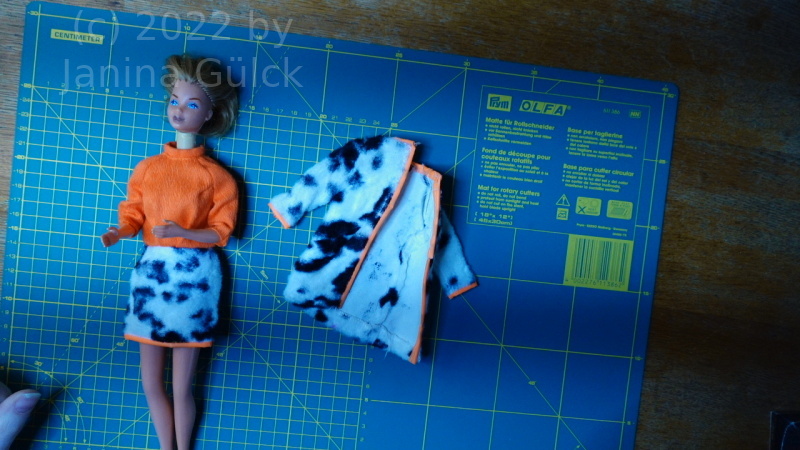
Kissing Barbie wearing Plush Pony

At the end I was able to fix this outfit. I don’t know if this trim was stiff from the beginning but I dealt with it the best way I could. The Kissing Barbie you see here was another repair project I did last autumn but I forgot to blog about her due to a lack of time.