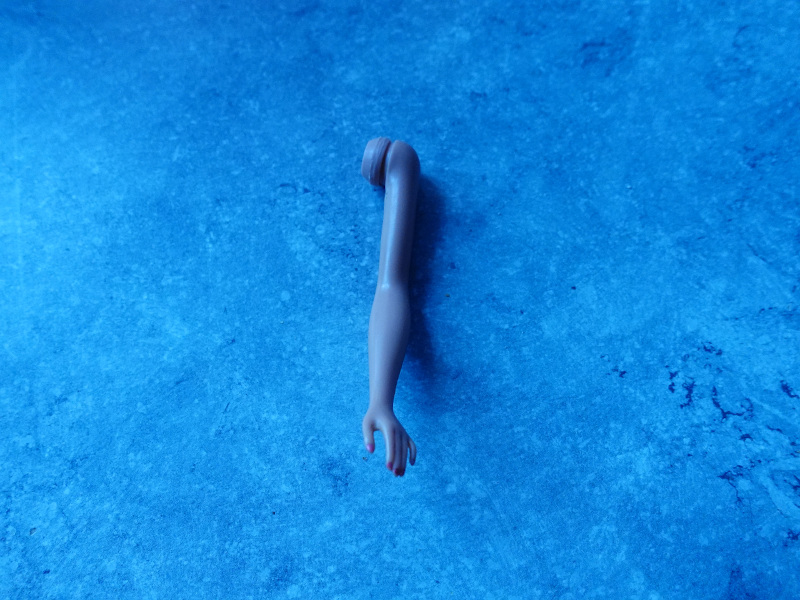
The leg repair of an Equestrienne Barbie

Last week I told you a little bit about the leg repair of a Talking Stacey and how easy it is to repair her fallen of legs. If you forgot to read about you can do it here https://barbie.final-memory.org/talking-barbie-and-her-leg-problem/
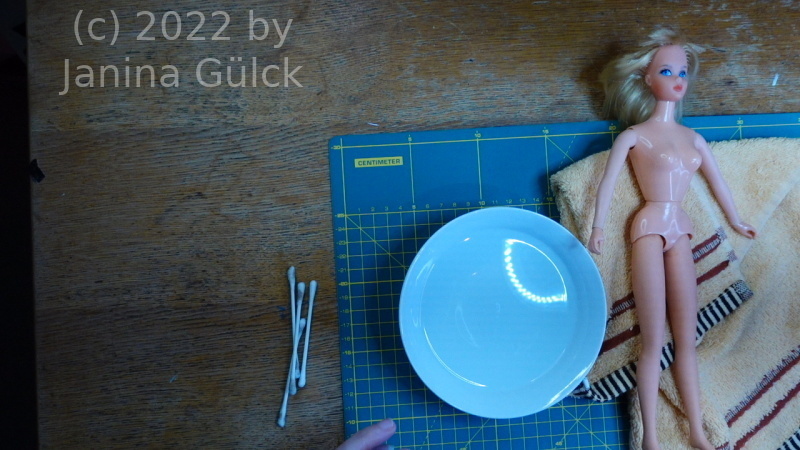
C1397T01
Successful leg repair of an Equestrienne Barbie

This weeks I would like to tell you a little bit about the leg repair of an Equestrienne Barbie and how easy her repair really is. I have done a video about this topic many many years ago when starting to do videos but until then no second Equestrienne Barbie crossed my way to do the repair another time. However I realized I got a pair of legs and a suitable body for the demonstration of this repair in the last months, had forgotten it completely.
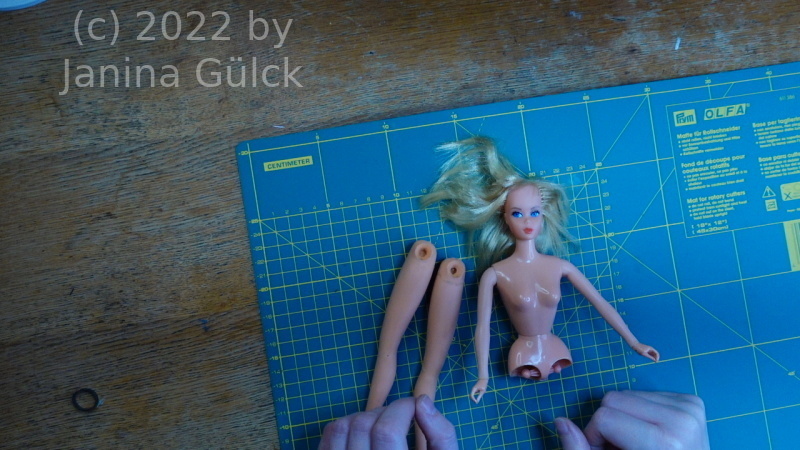
C1390T01
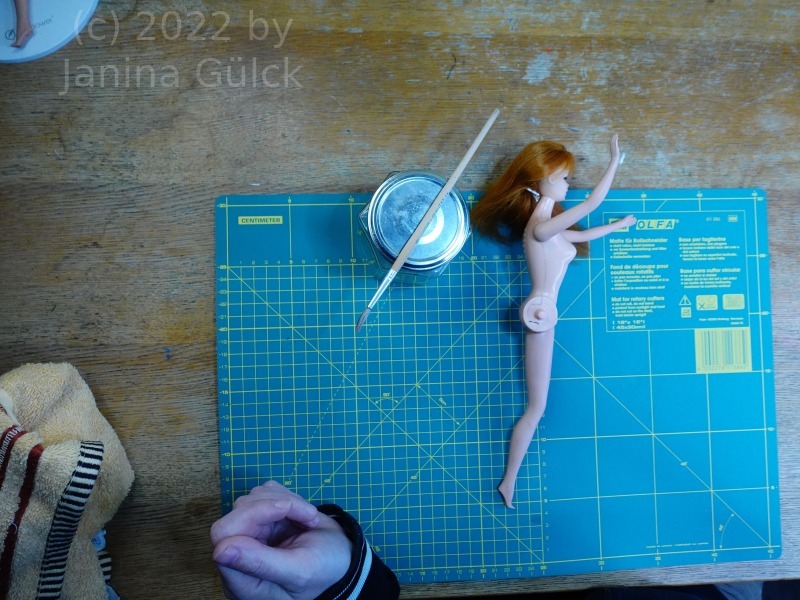
That’s Barbie without legs

When searching in my workshop for new video ideas I found the semi-assembled Equestrienne Barbie just waiting for me. She was the one I was looking for. The good thing is that for this kind of Barbie doll the amount of time needed for the repair is very low. You can do it within 5 minutes when you are trained to do it. This is no joke. You don’t need more time for the leg repair of an Equestrienne Barbie. It’s very simple. You just need hot water, the legs, a little towel, the upper body and some minutes time.

After putting the legs in your bowl with hot water you just need to wait until they become soft. You dry them with a towel. You know the problem that can appear when not doing it properly. Read more about it here https://barbie.final-memory.org/tutti-todd-and-their-problems/

C1396T01
Here we are in the middle of the repair

You dry the legs and them push them over the joints with some feeling. It’s really hard to explain how much to push and how much is too much. I suggest simply trying the leg repair of an Equestrienne Barbie. More than not being able to get the leg in the leg joint again can’t happen. Then you do it another time and it will find its way.
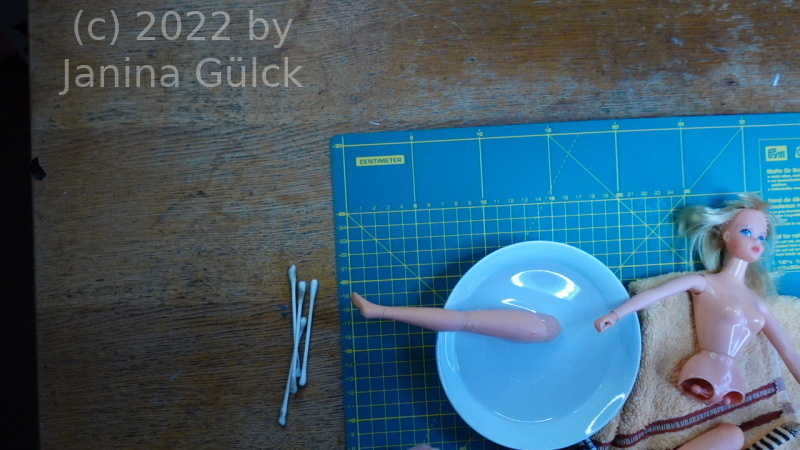
C1395T01
One leg reattached …

Talking Barbie and her leg problem

When you have a Talking Barbie from the late 60s you probably know the problem. Her legs fall off. Without a word, without any explanations. I don’t know how many of them were produced but I think up to 80% have this problem.

The fallen off legs were treated in different ways by different persons. Some re-glued the legs back to the body, some repaired the legs with screws. Be careful here when you want to repair the mechanism. When the screws are too deep in the body the Talking Barbie will never be able to talk again.

I admit I have seen some really creative solutions to the problem but seen from the point of view of harming a doll or not I got different answers to the problem. A lot of you emailed me about your experiences with Talking Barbie and the leg problem. Some told me they bought Talking Barbie legs and the legs fell off again a while. The ones glued back with Gorilla glue had the biggest problems. I have no idea in which decade it was done but now the arm and leg knobs seem literally to crumble away.

DSC08460 min
Here’s what I’m talking about. See an intact leg knob here ( in one piece again)

I can give you the advice to be careful when buying used Talking Barbie dolls. It’s often the easiest way to buy them from first owners who never reglued them to the body. You can be sure to fix them properly and you even have a chance to repair the mechanism ( if you are as crazy as I am).

Since I got so much feedback I wanted to make another Video about Barbie and how to fix her legs. It’s not really hard. You only need to have her broken leg knob piece, some MEK, a paintbrush and some patience. In my latest video you can see an instruction how to reattach the legs.

When you ask my about the cause of leg problem I can only assume that it could be a material weakness. The forces having impact on the leg knobs must be huge. We have two different materials here that have an impact on the leg. It’s the rubber of the leg and the Barbie body. I think they don’t like each other and that might be the reason for the reaction. Maybe you can imagine it like a magnet and the two don’t like each other. I hope this explains Talking Barbie and her leg problem a bit better to you.

DSC08470 min 1
Here’s our Stacey after the repair

Fashions for Francie doll – here’s what she has now

Finally 1000 subscribers subscribed to Busy B from Germany and I thought for a while how to celebrate the event with fashions for Francie doll. At first I had no idea how to celebrate it. Suddenly an idea came into my mind. I’m not always showing you all the things I do behind the scenes in my workshop. I take this occasion as a chance to show you some of my ideas for dressing Francie,

DSC08405
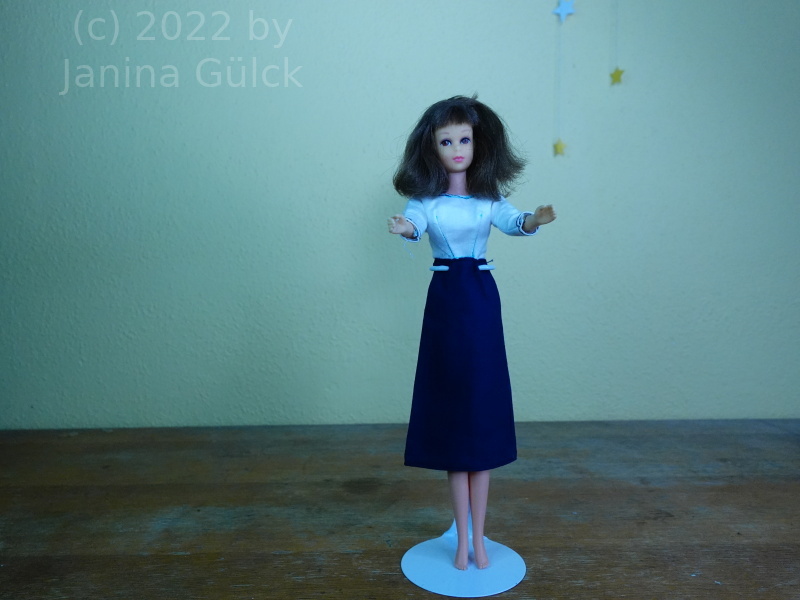
Francie in a-line skirt, own design

You know I like Francie and I do my own designs now that I have learned what I already wanted to know 25 years ago. In my videos you have only seen a small amount of clothes I made instructions for. Behind the scenes I did a lot more, some things could be seen in my other videos but a big part was not. Not all of my designs are ready yet but I have some ideas how to do this and that even if my time to sew is very limited.

It’s always a good idea to plan ahead what you want to design next. Sometimes I need a year or more to complete my drafts. That’s at least for the more complicated designs true. Easy projects don’t need such a big amount of time. Nevertheless my designs inspired me to do a video with all fashions created until now. Fashions for Francie doll – here’s what she has now in her wardrobe.

DSC08434
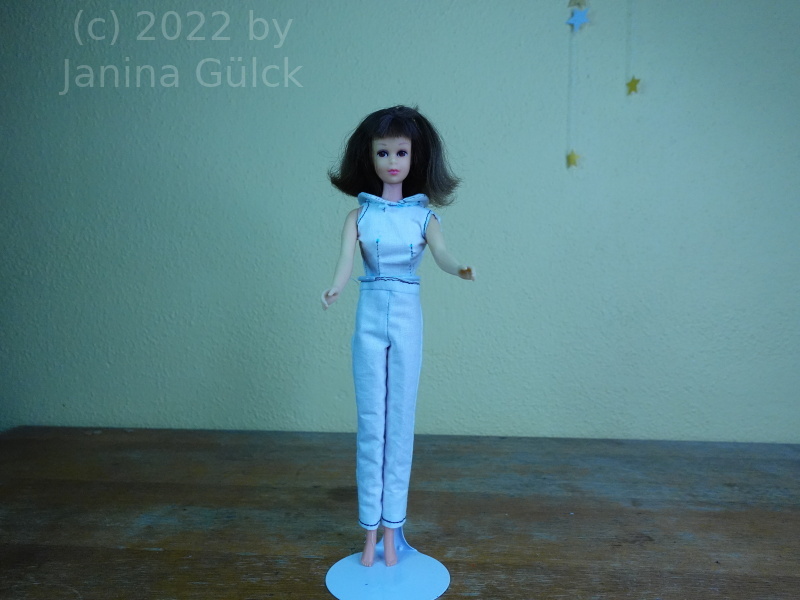
Francie in self designed pants and JE dress top

For those of you trained in sewing for Barbie and the family it might be only a small amount but for me it’s a big progress. I have learned a lot since I found my own mistakes in making own designs.

You know it’s all about the correct measurements. I know I’m not perfect and I know that a lot of my designs is still in white but I hope you appreciate the idea to show you my designs as much as I do here.

DSC08424
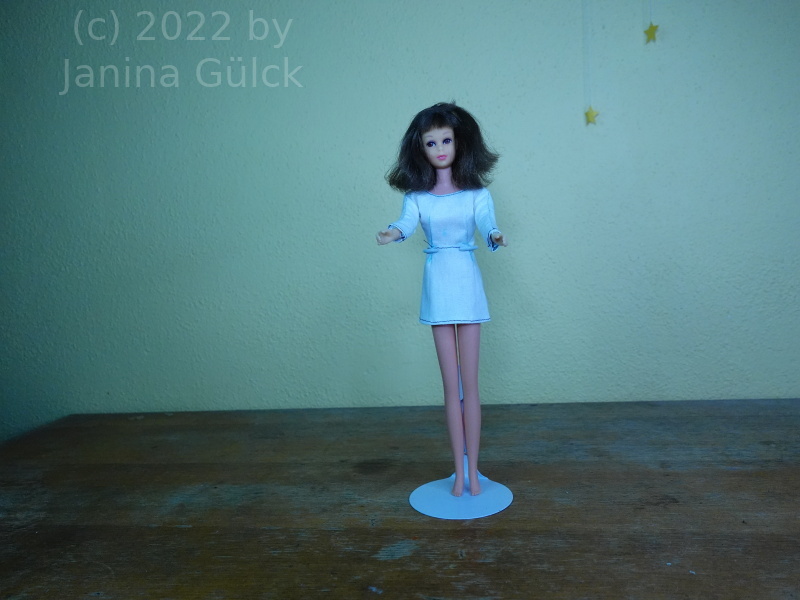
Francie in self designed top and skirt

I don’t want to create very complicated clothes here. We can do it later. Let’s start simple and let’s stay simple. When you have some basics you can put them together and create a new piece of clothing and play around with your own designs here.

I hope you like my ideas here and that you like the fashions for Francie doll that she has now in her wardrobe. You know I came across the idea for making all the fashions for Francie doll because her original fashions are so expensive. It’s easier to make own patterns than to buy what she has now. Why not use the problem for what you ever wanted to do in your life? Become a fashion designer! Read more about it here https://barbie.final-memory.org/how-to-make-a-pair-of-pants-for-barbie/

How to change a fashion doll arm

I dedicate this article to the topic how to change a fashion doll arm. I have only Barbie family members so this is only valid for Vintage Barbie, Francie, Midge, Ken and Skipper. The joints were changed later so that this is not possible in the same way for later dolls.

What I can tell you about this topic is that it is not hard, like always when I talk about Barbie. It is simple when you know how to do it, what to use in the process and what to avoid.

One thing all of the above mentioned dolls have in common is the arm joint. It’s the same one for all dolls. That makes it easy to show it only once and you can use it for all dolls.

I refer to Barbie only here because I only have Barbie dolls. I don’t collect any other fashion dolls.

DSC08223 klein
Vintage Barbie arm with joint

For reasons of easiness let’s start with what will expect you. Have a look at one of these arms. As you can see the construction itself is very simple. The arm and the joint are made from one piece. I think it was easy to design, easy to make a mass production of these arms and the were cost effective. More pieces per doll would be more expensive. The less pieces per doll you have to assembly the cheaper the production/ assembly costs.

I think it was not intended that doll docs would ever write about the topic in the future but this construction is also easy to repair. You can replace the arm with another arm. Of course you need one from the same doll type like Barbie – Barbie, Skipper – Skipper and so on. It would not work for different doll types simple because of the different size.

The lengths and joint sizes for the dolls are simply different. You would see it immediately when you replace a Francie arm with a Skipper arm. The lengths are simply different. I came across this topic because I recently bought Francie arms and in reality they are Skipper arms. The difference is very small but you would see it.

I hope it is clearer to you now how to change a fashion doll arm and you know what to look for and what to avoid. If you want to read more about my Francie project have a look in this article https://barbie.final-memory.org/francie-and-how-to-restore-her