A “Solo in the Spotlight” for Francie?

In the last weeks I came across the idea to create something new for my little Francie. I love to be a creative artist and I really enjoy designing own clothes for my famous fashion dolls. I could do it all day long but I hardly have the time to do it but I really love to do it and use the time for creativity. That’s how the idea a “Solo in the Spotlight” for Francie came into existence.

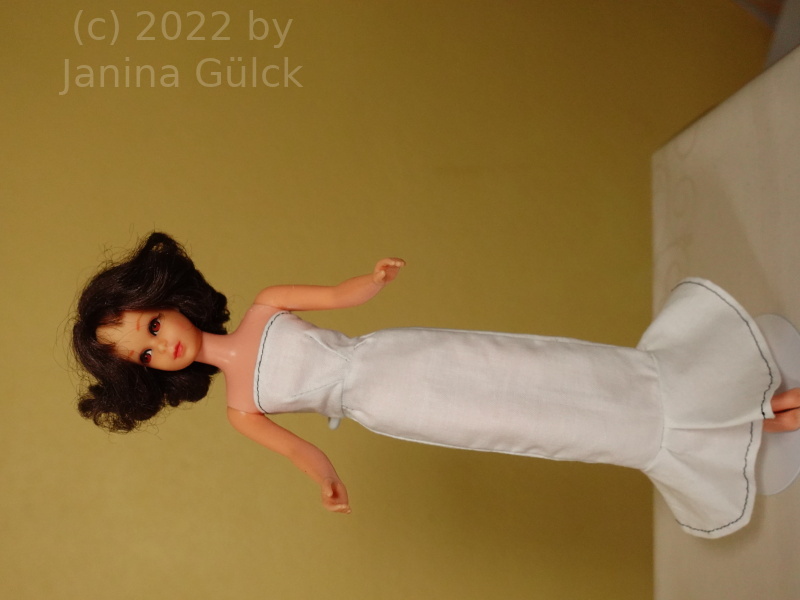
In the last year I created a lot of easy clothes for Francie, the cousin of Barbie. In January I had the idea to make something like a “Solo in the Spotlight” for Francie. It’s a night club gown. I don’t have this dress yet so I give you a link that you know what I’m talking about. https://www.fashion-doll-guide.com/Vintage-Barbie-Solo-In-The-Spotlight.html

I created a top for Francie last year when I did a kind of circle skirt-dress for her and I used it for this idea too because it fits quite well. Then last autumn I played around with designs for skirts. I tried to make a pencil skirt for her. That was not very hard. You can see how I did this here https://youtu.be/IilLSlJTXFE and here https://youtu.be/Allj1knKfLg

It’s basically the same pattern. Then I added a the pencil skirt, made it longer and added the circle to the bottom of the skirt. The idea for this circle came from the Barbie Fashion Designer program Mattel published in the 1990s for PCs. I know the fashions don’t really fit when you put them in fabric. You have to re-design them for fabric but it’s ok. You can work with them when you know how to modify them. Now they are almost a picture of their time. I mean the 90s are almost gone for 2 decades but I’m really happy to have lived on earth back then and I’m glad I have these old PCs programs running on my old PC. I also have an old printer for printing them.

The idea behind the dress was simply to test if my idea would work out in the way I wanted it too. I did some tests and I worked out in the way I wanted it to. I know I always use white or another simple color for my tests but for me it’s okay. In the next weeks I plan to do more of these simple pieces of clothes. You know when you have some basics you can play with them and can put them together in a very creative ways. That’s my idea at the moment. I just want to play around a little bit with the pieces I have at the moment and put them together in new creative ways so that you can get new pieces with low effort.

DSC08320
A “Solo in the Spotlight” for Francie

It was not important here to make a realistic piece of clothing from the 1960s. Some other collectors complained about that it would have been unrealistic but I think we are not in the 1960s anymore. It does not matter here. The idea behind this whole project is still if it is possible to create a “Solo in the Spotlight” for Francie, not the question if it is a realistic dress or not.

How to repair Plush Pony from 1969

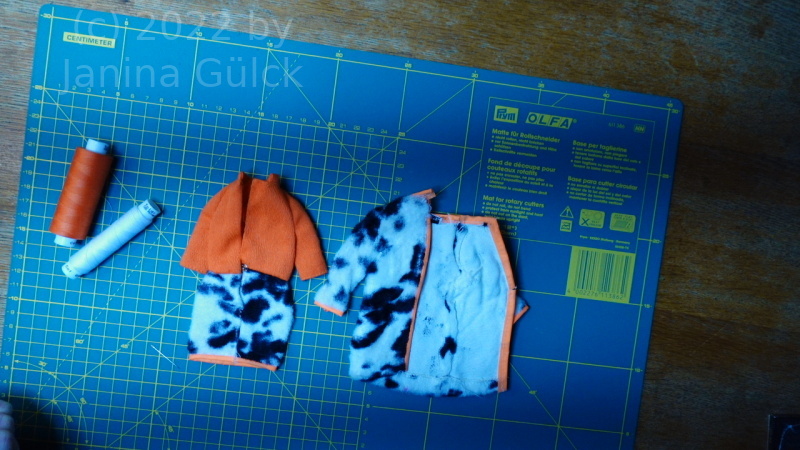
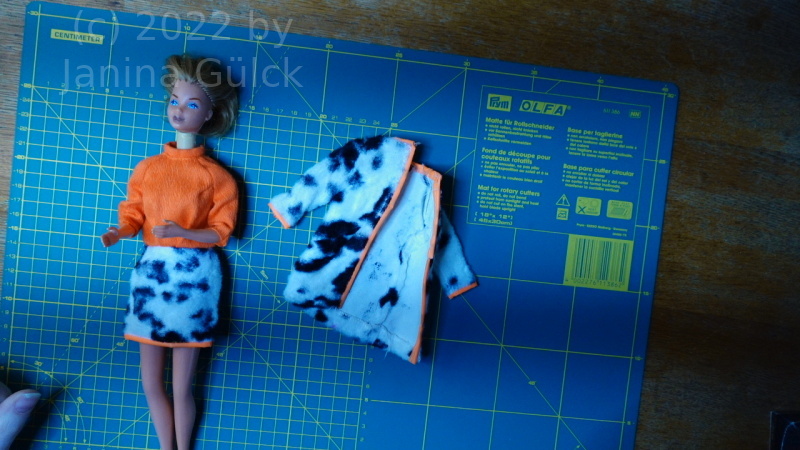
Maybe some of you remember this outfit from the late 60s. It’s very modern and it’s called Plush Pony. Somehow this outfit reminds me of a cow skin with the black spots. I have to tell you this here. Plush Pony mainly consists of the colors black, white and orange. Today I would like to talk a little bit about how to repair Plush Pony from 1969. This is an outfit worth to be repaired.

Another collector sold this outfit to me as project for repair. You know every now and then I get the chance to buy the broken outfits for a low and this is the case here. The seller is one of my silent admirers. In the last weeks I finally found the time to repair it. It was on my to do list for the last months but I hadn’t done it earlier. I need some positive vibration when doing this. I hate to do it when I’m under time pressure. That’s one of the worst things you can do when repairing a doll.

C1273T01
Barbie Plush Pony

The things that expect me were the age. The trim became stiff within the 50 years of it’s existence. That was the hardest problem to deal with due its stiffness. So I decided to my best to get it back on the fabric. The repair of the dress was easier. It had a common problem with open seams.

C1278T01
Kissing Barbie wearing Plush Pony

At the end I was able to fix this outfit. I don’t know if this trim was stiff from the beginning but I dealt with it the best way I could. The Kissing Barbie you see here was another repair project I did last autumn but I forgot to blog about her due to a lack of time.

Francie and how to restore her

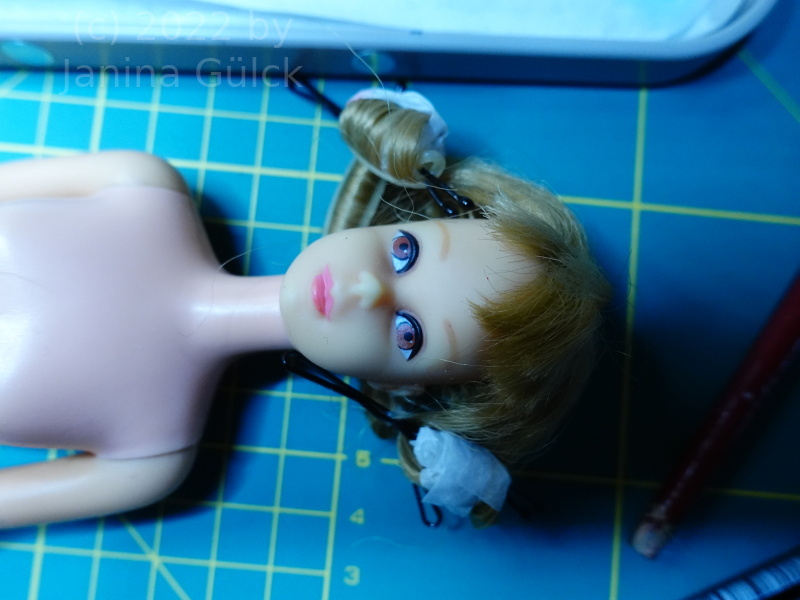
I have not made much videos about Francie in the last two months. The reason was that I had problems to find a tlc Francie for this project. I came across a body without a head and then suddenly there was a perfect Francie offered, perfect for this project. The seller said she was tlc but even tlc is not for free. I bought her.

DSC08264
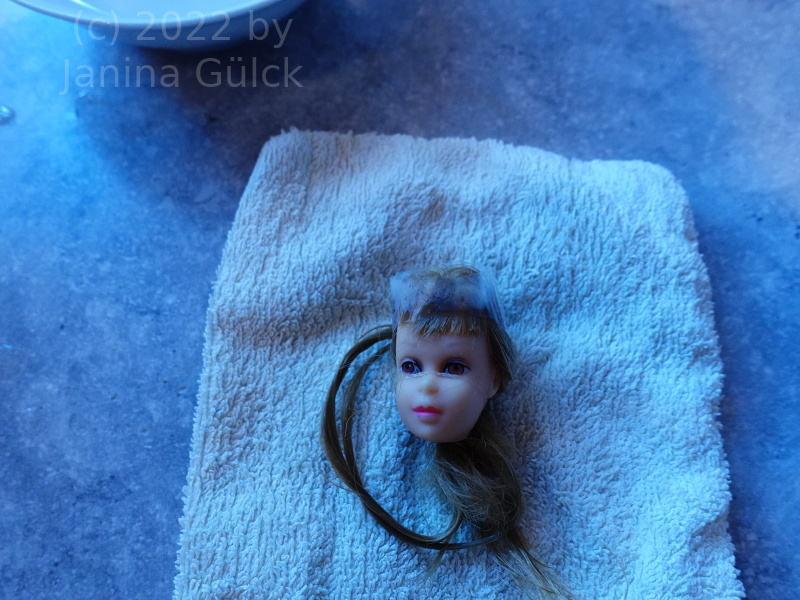
Francie before the reroot, some streaks are missing

Some days later she arrived in her parcel. I must say I expected her in a shape worser than you can imagine but this was not the case. In fact I see her potential. Yes, this doll is almost in her 60s but does it stop me to repair her? The answer is no. I sometimes really enjoy these bigger projects where you can use a lot of creativity to restore them.

As I already mentioned in my last repaint video I don’t recommend you to start without the correct material ( link https://barbie.final-memory.org/what-you-need-for-a-good-barbie-repaint/ ). Buy everything you need for the project in advance or simply have it at home when you plan your project. It’s good when you have a time schedule in advance. For making this video I needed at least 2 weeks. It’s not the pure time you need but you need to consider that things like hairs have to dry at least for 24 hours when you want them to be dry for your next step.

I also have a little endoscopic camera for my projects so you can think of buying one before you start ( if you want to work with one). Then arrange to have the hair at home. I know this may sound weird but I prefer to have a big box with hair at home before I do anything. This gives me a creative feeling. I need some positive vibes before I start. In my case this vibe is created when I can have a look into my hair storage or my acrylic paint storarge or my brush glas. I have all my brushes in one glas. I think it’s a handy dandy way to start. Have everything at home before you start.

DSC08267
Francie after re-root but before repaint still drying

Before I actually started with my video I made a plan how to start what to show, what to do at first, what to do next and so on. I wanted to have some logical steps in a plan before I started to film. So I could make sure that nothing was forgotten.

I my case I started with the head but as you can imagine I wanted to have a look into her head before I started to reroot her. This was a kind of safety insurance not to expect anything unexpected. I checked the pattern of hair in her head way before I started to reroot. When you see there is a destroyed pattern in the head you have to repair it before you can replace missing streaks. Then continue with the hair. After having inserted the new steaks you have to flatten the new streaks.

For this you need at least a day for the drying. Good. After that you can cut the hair. I recommend combing the hair before you cut it. Use a good pair of suitable scissors. I have a professional pair of scissors for cutting hair but it’s for right handers, not lefties. That’s why I use my pair of embroidery scissors here. Works.

DSC08272
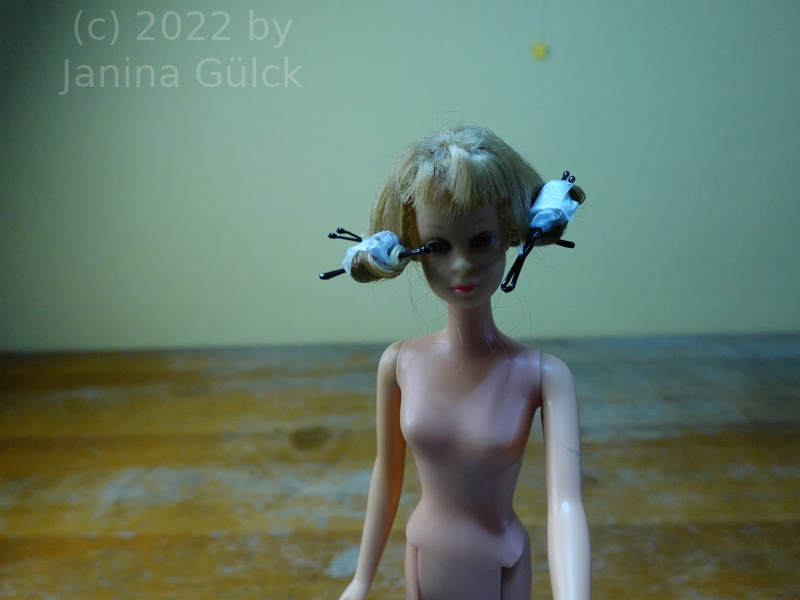
Francie with curlers

After cutting you can curl if you want to. I did this in my case to have the hair out of the way for the repaint. So I used the hot and cold bath method for the curlers and started one day later with the repaint. Before doing the repaint I put my brushes and colors on my desk and prepared my wet palette. After finishing the repaint I waited 24 hours before I used my sealer. After another day I took her curlers out, finished the styling and prepared everything for the final scenes.

DSC08279
Francie after her repaint. No problem when you have the original colors.

You see it’s a lot of work. Being well prepared is never a mistake.

How to clean a Vintage Barbie body

One of the most discussed topic among collectors is the cleaning of the old dolls. When you ask one collector you probably will get 7 different answers and not all of them can be used without critical consideration.

I recently asked other collectors how they clean their dolls and the answers were partly alarming. I don’t use any chemistry that can harm a doll. You know that I really do research and read books before I do anything on my dolls. My method how to clean a Vintage Barbie body was obviously not known to a lot of fellow collectors. No, I don’t use any chemicals that could harm a doll. Where do I know this from? Well, I have a good book from an expert who worked in the chemical industry for toy production for almost 40 years. I only use rubbing alc and Q-tips and a magic eraser but not from Mr. Clean. I have a no name product, cheap and with a good cleaning power. Rubbing alc does the least damage to the doll.

From using dish washer tabs to the use of oxi I got a lot of expert answers how to clean your vintage Barbie. Is this good for your Barbie doll? I say no, you are destroying your vintage Barbie without knowing it. Before you use these cleaning products have a look at the ingredients. The more cleaning power products you use the worser it will affect your doll.

Some collectors swear to use CLR for removing green ears but what they don’t know is that it will dissolve your doll in the long term. Even if you use it only on cotton pads it will destroy your doll in the long turn. Why? The chemicals will start to eat up the rubber of the Barbie and cause a long time damage you won’t get ever rid of. Also don’t forget that you can entice fungicides with your actings. Fungicides are a big problem among Barbie dolls that nobody seems to care about.

Another “helper” I got to know was Chlorox spray cleaner. I have never used this stuff and I will never do so because what you can do is a doll that might be cleaner at the moment you use it but it can also lead to a brownish tone after the treatment. Not immediately but later.

Acetone was also recommended. Why? Do you want to dissolve your doll? Really? Don’t forget that this stuff can cause different kinds of cancer. Not to mention that acetone removes the plasticizer from your doll when you put your doll in a bowl of acetone for a longer time period. The result will be disgusting. I promise.

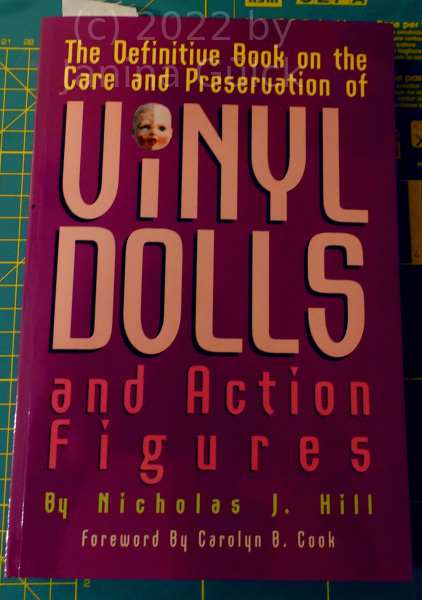
Where do I know all this from? Well, before I treat any of my dolls I read books about what I’m doing. I can recommend you this book

Vinyl dolls1

I hardly recommend any books here but this one is worth to be read because when you don’t know what you do here you can cause a big damage that you can’t make undone. In the worst case you can throw your dolls away. I would think about it twice. When in doubt let her be a dirty doll. That’s all I know about the topic how to clean a Vintage Barbie body.

Tutti, Todd and their problems

You have probably never heard of Tutti and Todd. No wonder. I also never heard of them for a long time. Even after starting to collect Barbie dolls I was for a while not aware that these dolls existed.

What’s the problem? Well, they were stopped to be in production almost a decade when I was born and I think they were not as wide spread as Barbie and the grown up family members.

Tutti and Todd are twin baby sister and baby brother of Barbie from the mid 60s until the mid 70s and then they disappear from the family and were never seen or heard of again. For a first impression I would like to link to https://fashiondollz.de/1965-tutti-todd-and-chris/#!gallery-1176-9939

D has always nice pics of a ton of Barbie dolls. But what makes Tutti and Todd so special that I dedicate here an article to these two twins? I recently bought a package with repair parts and among these dolls was a Tutti with a green leg and an open arm. So I was able to show you the wire inside the body. It’s the wire that causes the problem concerning the green arms and legs these dolls have often.

The wire reacted with some kind of liquid, often water. I think this problem is so wide spread because these smaller dolls were produced in one step while Barbie was produced in several steps. For Barbie you needed to produce the torso, the arms and the legs separately plus the head. For Tutti and Todd you needed only body and head. Here was at least a potential to save money and I think that these dolls now suffer from. https://fashiondollz.de/1965-tutti-todd-and-chris/#!

It’s something you hardly find information about but I think they are worth to be talked about even if they are out of production now for a long time. The little outfits have their very own charm and there are lots of outfits for Tutti and Todd around. By the way this Todd mentioned here has nothing to do with Todd https://fashiondollz.de/1977-ken-superstar/#!gallery-557-11415 from 1982, the groom of Tracy https://fashiondollz.de/1971-steffie-face/#!gallery-553-6993

The dolls are not related here. I know it’s sometimes a bit confusing. I hope you like this little article about Tutti, Todd and their problems.

What you need for a good Barbie repaint

I recently saw that lots of you are interested in the topic of repaint but I found no good video summing all thing you need in a video up. Some videos only show the direct repaint. Some videos only show the brushes, palettes or color but there’s no video where you find all parts combined in one video and giving you some bonus beginner mistakes to avoid.

What’s easier than doing it yourself when you don’t find the correct video for the topic you want to cover. If you want a video showing you an actual repaint, no problem use this here

From my experience I can tell you it’s not always easy to have the right things for repainting at the same time at home. That’s what I have within some years and I think it’s useful for most of you. I don’t think neither have heard about Liquitex ( when you are living in Europe neither from Da Vinci artist brushes). That’s why you should update your knowledge. It is useful to think about these items first, then you buy them and don’t have any negative surprises while you are working.

I bought mine over the last couple of years. I had no idea where to start neither where to buy. There were no videos on youtube. Of course there are some bigger channels than mine here doing repaints. On some channels you have millions of viewers but I don’t have them but want to inform you about repainting as good as I can. What is really helpful for the hobby of repainting is to get yourself a wet palette. I can’t tell it often enough but this little thing is a game changer. You can keep your colors liquid for at least a week. From my experience this is enough time for doing a proper repaint. I hardly needed more than a week. The sponge is great for this. The costs you have are around 25€ for this. It’s always a little depending on where you buy it.

Then you have the colors. I can’t recommend it often enough to use good quality color. The reason why I show here Liquitex colors is that when you use the cadmium free version of this color you don’t have any fear that the color will leave permanent color traces in the rubber of the head. You can see this sometime on Barbie dolls like my Jewel Hair Mermaid Teresa. She’s a nrfb doll but after 25 years somehow the color started to bleed into the adjacent rubber. Have look about what I talk about.

JHMT
Jewel Hair Mermaid Teresa with some traces of bleeding color

I know it’s very subtle but it’s happening and I simply want to warn you that this could happen to you too in case of using cheap or incorrect color. It’s not that everything is perfect in the Barbie world. I never said this but for future projects we can avoid the problem when we know where it comes from. That’s at least what I think here.

The biggest problem I had when I wanted to start with repaint was the brush question. I heard from other collectors what they used. I bought the brushed, made my first strokes and found out that they were way to thick for my problems. Later I accidentally came across very fine and thin brushes suitable for the project. I use a lot of Da Vinci Micro Nova brushes. They are not cheap but I’m satisfied. Since 2021 you can also buy the bend versions you can see in my videos.

Another problem I had when doing repaint was the color consistency. For most of the projects the paint was way too thick. I only use undeluted color for the white dots in Superstar Barbie eyes. For all the other projects I thin the color out. The wet palette is your friend here. Even if you have used way too much water it’s no problem. You have to wait a day and then the color will be okay again. Very helpful for beginners. So I hope that this little article gives you some more background information to understand what to do and what to avoid when going shopping or doing your very first repaint. Keep in mind what you need for a good Barbie repaint.

Have you ever tried to re-crimp Barbie hair

When you grew up in the 90s you know what I’m talking about. If not let me tell you that crimped hair were wide spread in the 1990s not just for dolls. Especially in the early 90s this was a big thing. Even my cousin had a crimping iron. I did not know about this whole trend until she explained her crimping iron to me in 1995 or 1996. I know this is rather late for crimping irons but they still exist. You can still buy them today but the trend as big as it was in the 1990s disappeared somehow. Mainly due to fashion reasons I think.

Maybe they come back in some years like many trends come back every 20 or so years. I’m showing you a pic of what I’m talking about.

https://www.instagram.com/p/CZvV35WFC4p/?utm_source=ig_web_copy_link

Anyway Mattel used this unique hair technique to make the Barbie dolls look like they were very hot, cool, stylish, trendy. In my childhood almost all of the Barbie dolls I knew had these waves. In my world these waves had no names. One could not imagine that it might change one day with the waves. I know this sounds crazy especially when you came to Barbie later or earlier but in the 90s these crimp waves were huge. However with in the almost 3 decades that passed by since these crazy crimp waves appeared for the first time. Many dolls have somehow lost their waves. My Totally Hair Barbie suffered under this problem almost from the beginning. I think she lost her waves after being braided with a normal 3 stand braid for a longer time period. So this phenomenon is not new to me but I search for ways how to restore these waves and try to make them look like they were freshly deboxed. This is not always easy because most of the time they are missing a lot of hair in their ends due to the fact that the hair fibre used mainly is Kanekalon hair. Some rare dolls also had Saran hair and their hair stayed intact. You can see this when you search for Hollywood Hair Barbie and compare the offer with Totally Hair Barbie dolls on ebay. Hollywood Hair Barbie never had this problem. The reason is the fiber. I never understood it as a child. That’s something I learned along my way as a collector.

In the 1990s we find mainly Kanekalon hair. It’s the cheapest kind of hair that can be mass produced. Maybe that’s the reason why a lot of these 90s Barbie dolls had a huge amount of hair at first? After the first tangles they had less and less hair. That’s also the reason why the ends of the Totally Hair Barbie/ Ultra Hair Barbie can often be found with very thin ends. Tangles – the dead of every Barbie doll with Kanekalon hair. If you compare this fibre with earlier Barbie dolls from the 1960s, 1970s or 1980s the 90s is the first decade where the problem of general Barbie doll hair loss appears.

Now let’s turn back to the main problem with the waves. Kanekalon as a fibre is easy to work with. You can bring the hair in any form you want and you can curl the hair with every curler or curling iron you have. The art here is to find a way that your doll hair keeps this position permanently and here my job starts. I try to show you easy to follow ways to get your doll to a shape as good as new. This is not always easy and a lot of testing is necessary for good results but you get them as soon as they are available. If you have ever tried to re-crimp Totally Hair Barbie or Ultra Hair Barbie successful let me know your recipe.

Broken Barbie necks, missing joints and how to attack this wide spread problem

When I come across problems with broken Barbie necks there are mainly two things, very wide spread in this area. One thing is that you can find the older neck joints very often in the head of the dolls. They simply left the body and popped somehow into the head.

That’s also the first problem I ever came across when I kept my childhood dolls, got them from the attic a while ago and one of my Skippers hit the floor. So the problem that the neck joint disappeared into the head happened. The head fell off and I thought she would really be broken. I think it happened some 20 years ago. I really thought she was broken and threw her away. To be honest this was one of the biggest mistakes I ever made since starting to collect these dolls. There were no guides or indications that simply hot water would have saved this Camp Fun Skipper to be thrown away. I learned all the things that I teach you here much later. Another Skipper, my Teen Skipper was sitting for years on a stair head. One day she fell of. The head, the joint and and the body stayed intact. The only thing she got from this adventure during my absence is a very thin hairline crack. I know she has it but I ignore it and nothing will happen. She’s in one of my showcases.

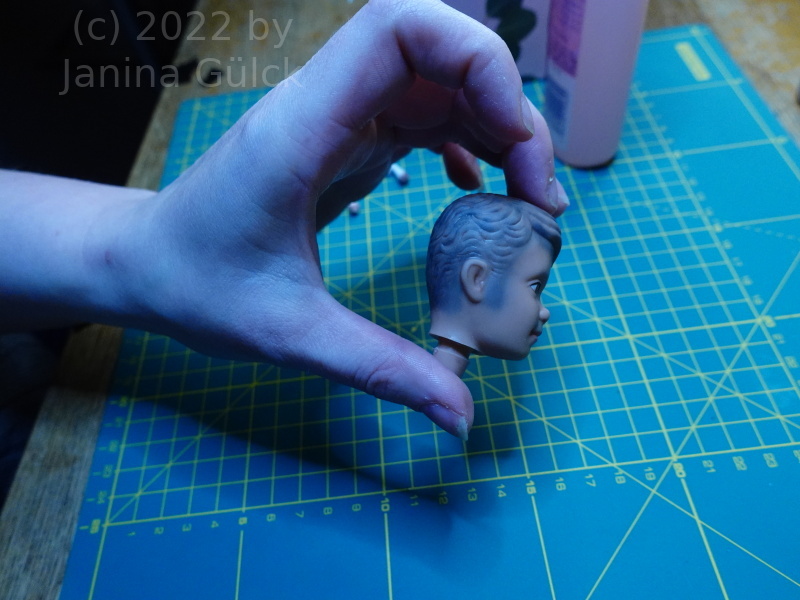
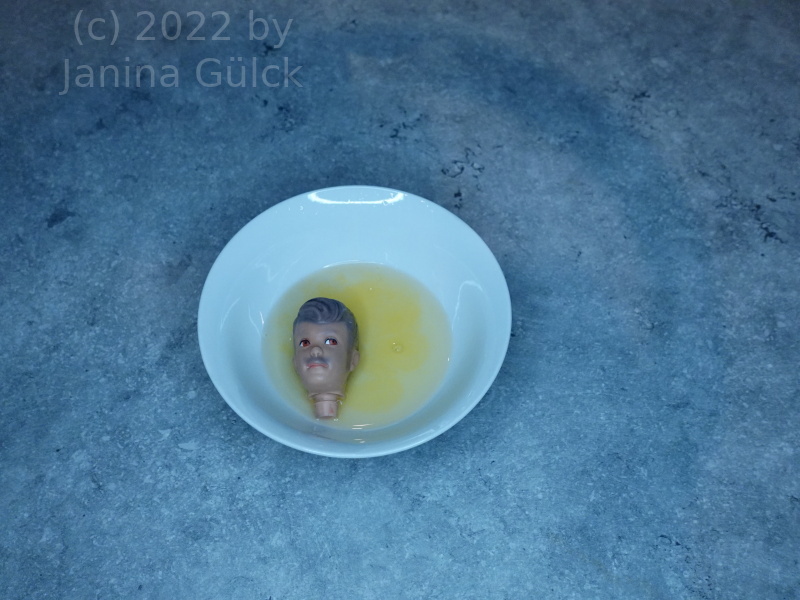
But what to do when you have a case like mine? Throwing the doll away? Possible but unnecessary as I learned later. There’s a very easy solution to get at least the neck joint out of the head again. You only need a bowl with hot water, a towel and a little patience to get the joint out of the head again. The head itself is made out of rubber. When you heat it up a little bit the head becomes very flexible and it is very easy to get the joint out of the head again. That’s what you can see in the first part of the video. I recommend not to treat the broken hairline cracks if you want them to stay invisible. Often you hardly see that there are cracks when the head is back on.

What do you do when a big part of the neck is broken smoothly out of the neck? Does it make sense to throw the doll away then?

I would say no. If you don’t have the stuff to repair the body immediately it’s no problem just store the broken out piece and the body together so that you know where the body as a whole is. Maybe store it in a zip lock bag?

Good idea! That’s at least an idea how to fight against broken Barbie necks, missing joints and a solution to attack this wide spread problem. But when you want to leave this ” I put her in a zip lock bag” -status? That’s very easy said with a few words. Get yourself MEK to solve this problem. The background why not to use normal glue is that I was told by a lot of collectors that they got problems with using glue. Their arm and neck joints literally crumbled away within the years the dolls were glued. That’s why I recommend to melt it back on. MEK or 2 Butanon is a solvent. We careful when using it. It is said that this stuff can lead to cancer when using it too often. It also needs 24 hours to dry completely but I think it’s okay when we have a normal doll back after the time. For the missing joints I can recommend to replace them. Often you find replacement joints in bundles/ lots with lots of heads. In the last year it was no problem to get them. What do you think? Let me know in the comments.

Skipper and her variety of face molds in the 90s

Have you ever realized that Skipper had in the 1990s more head molds than ever before in her existence? Have you noticed that we not only have one Skipper face but at least 3 different ones in the decade?

In the begin of the decade we only have the big eyes head mold from 1987 which is also known in Germany to as the “Kulleraugen Skipper“, means simply big eyed Skipper. Somehow these eyes remember a lot of collectors to the comic or manga like outward appearance of some Japanese comics.

I don’t want to do any speculations here but maybe this comes from the fact that after having cable TV in Germany and other European countries some broadcasters bought licenses from Japan to show some classic Animés like Georgie, Lady Oscar and a lot of other series from Japan. I think this hit a nerve back then without realizing it.

I did not question the TV program, just watched back then but I had no idea that the stuff came from Japan. It was mixed with American comic series. The offer to fill a whole afternoon with comics was broad enough. However after 20 – 25 minutes there were breaks for advertising and that’s where Skipper came into the game. We had no chance to escape the ads. We had no chance to recognize that we were trapped in the advertising and always got a little brain wash. They created the wish and we the need to buy it.

It was a thing to talk in school breaks about “Have you seen this and that” advertising? But to come now back to the face molds we only had the big eyed Skipper for a while in Europe. Maybe that’s why she was popular among us little girls? From looking into all my research books I know that the Pizza Party Skipper appeared in the US in 1993 but in Europe she was not sold ( as far as I could find out). I don’t remember having seen her anywhere. The first Skipper I remember is the Phone Fun Skipper. She had this new smile in her face and I admit I was attracted by her. So I asked my mother to buy one. I can’t really remember how I got her but she’s one of the few Skipper dolls I kept from my childhood.

In retrospect I did not realize at the age they were available that this doll could ever be a rarity because she was only used for a few head molds. So that’s sometimes something that you find out much later. Much more often you saw the big eyed Skipper. At the end I think it’s not bad because I think she hit a nerve at least among us Europeans because of the Japanese comics running in TV. In retrospect I also realized that the 90s had a bigger variety of Skipper face molds than any decade before and that’s why I decided to talk about this topic.

How to make fashion for Supersize Barbie – the background story

Sometimes it’s just an idea and sometimes you put things into reality. I already had the idea to dress my new Supersize Barbie in December but the time was lacking. You know we were just preparing for the holidays, taking our annual X-mas vacation to see your parents. Bad time schedule but January came and so the time to put this plan into reality.

I don’t know how you do these things but I need time to work these things out properly. I hate it to be interrupted during my creative process so I do these projects mainly when I’m alone at home. It’s always my most creative time of day. I admit I’m a morning human. I prefer to do all the important things in the morning to make sure to get them done. I know there are different types of humans but my most productive time is the morning. So I used the last weekend of my holidays to begin with this project.

Sewing projects are always time consuming. It doesn’t matter what you do so you need a good schedule, prepare things in advance like marking and cutting the fabric, do the sewing the next day and continue so on. I prefer to have all steps to be planned in advance when I’m working so that I have a certain thing to do every day but on the same hand I can be sure to get things done.

I can give you the advice to plan more days than you will actually need because you don’t know how the result will turn out. From my experience I can tell that I had stress with finishing projects and videos more than once.

It’s a big advantage when you have several projects to work on simultaneously because you can always release at least one video a week. If you can produce in advance do it. I will have to improve my skills here because I’m always short on time. I hate it but it happens more often than planned. Don’t let anything interrupt you. The filming I did was at least two hours and I think I had to cut 10 hours to get it down to 20 minutes, correct the tone, the lighting and so on.

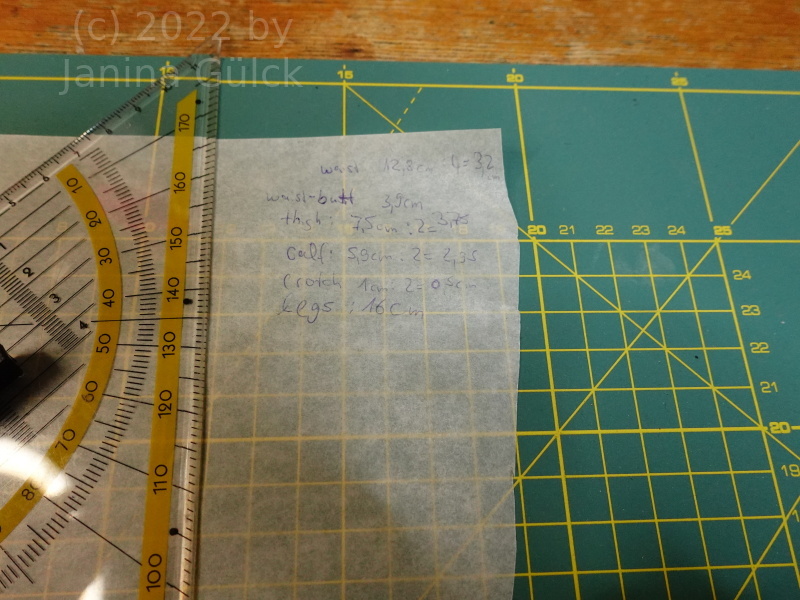
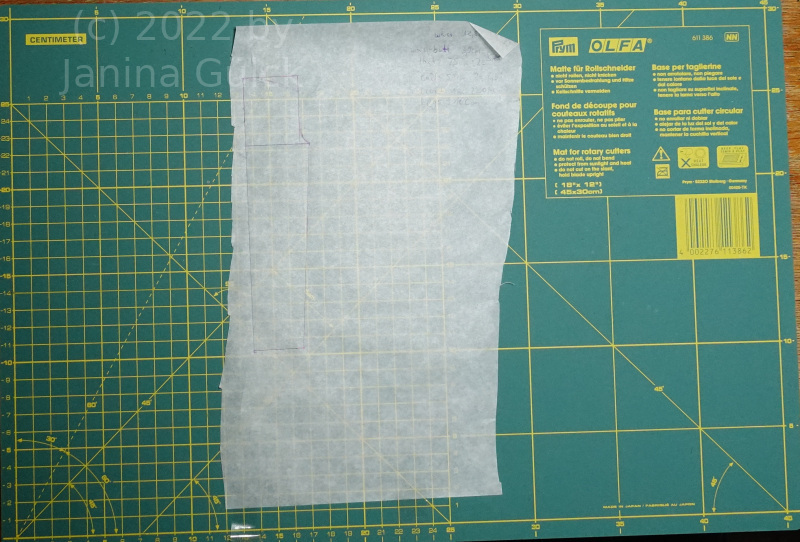
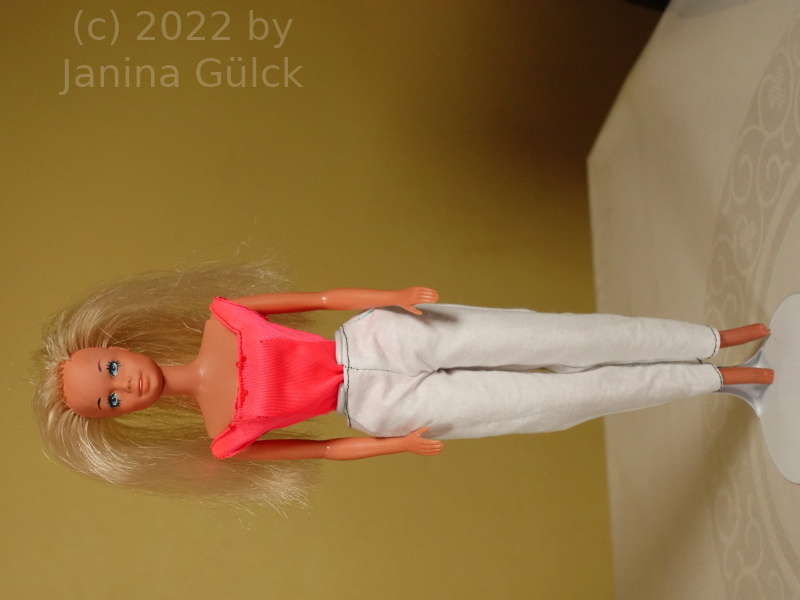
Nevertheless this was a project I wanted to do from heart because I don’t like my dolls to be naked. So I got to work and made the markings, the patterns and prepared the whole fabric for my sewing machine. At the end this project was very nice because my technique works so well that the Supersize Barbie has clothes now, is not naked anymore and the clothes only need a few adjustments for the perfect fit. I have to read a little bit before doing the final adjustments but for now I’m satisfied and it happens seldom enough to say this.