A Halloween outfit for Francie?

Recently we had Halloween and I thought for a long time about doing an outfit for our little Francie doll or not. You know I’m not the biggest fan of Halloween and it’s not really celebrated here.

We rather celebrate St. Martin and do our own lanterns here in Europe and go to a lantern procession when we are little and come from the German speaking areas of Europe but hey, I try to satisfy all my viewers here. That’s where the idea with the outfit for Francie came from.

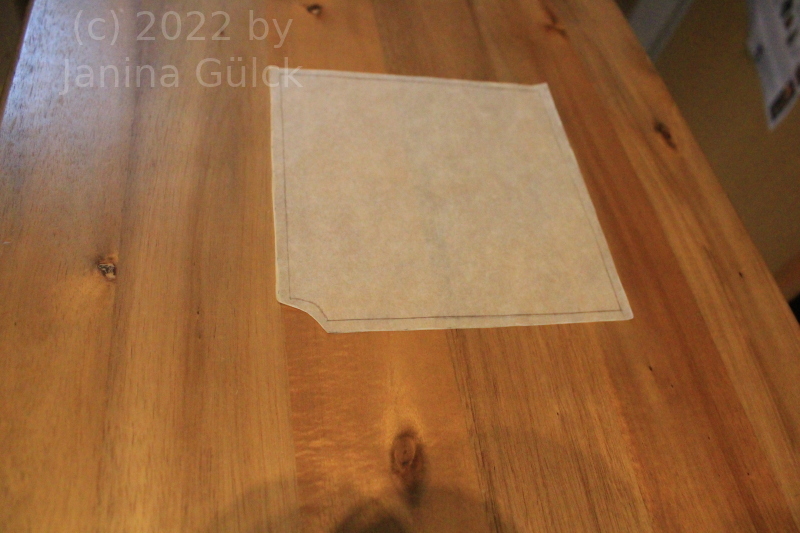
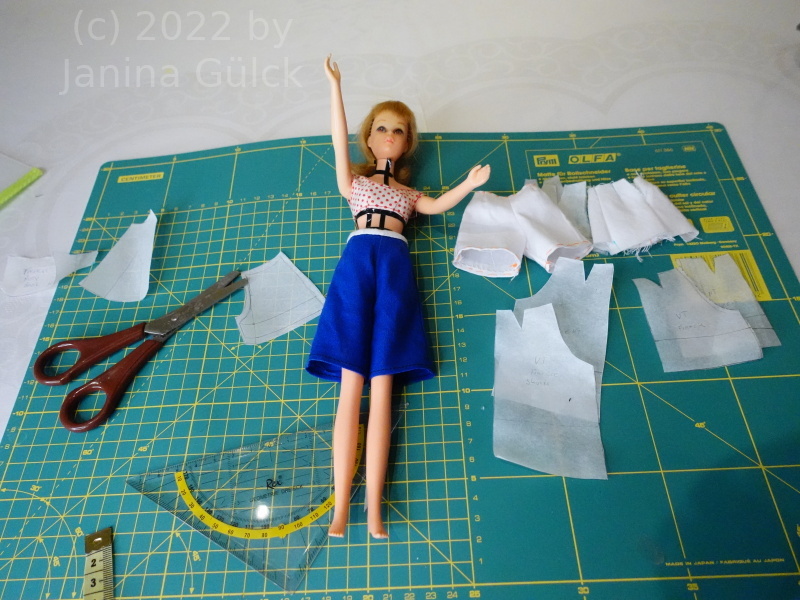
1/4 of the pattern for the Halloween skirt for Francie in a short version

As you all know I love sewing for little 15 year Francie doll, cousin of Barbie. She’s so cute and mine has only a few clothes I made for her. That’s why I do my own outfits, sew and improve my designing skills in pattern making.

In this case my idea was clear. A simple skirt and a easy but stylish top. Nothing complicated since a lot of you don’t have the biggest experience in sewing. I wanted to keep it as simple as possible. That’s why you only get a twp piece outfit here. You only need one calculation and one drawing to do it. I think doing it easier is almost impossible. I imagined something like a witch skirt when doing it. I have a similar dress that I wore to the ball after graduation of High School. I love to be creative and that’s how the idea came into my mind. Don’t worry it’s still very easy.

1/4 of the pattern for the Halloween skirt for Francie in full length

You only need to measure once round her waist and then use the formula for the circumstance to get our radius. That’s the same thing you would do when designing a circle skirt but this skirt here had rectangles, almost a kind of square but with the waist part that we need cut out. That’s very easy, isn’t it?

After sewing all four parts together you already have the skirt. The amount of time you need to sew this is very limited. You can do it within one hour.

Francie doll, francie barbie doll, barbie cousin
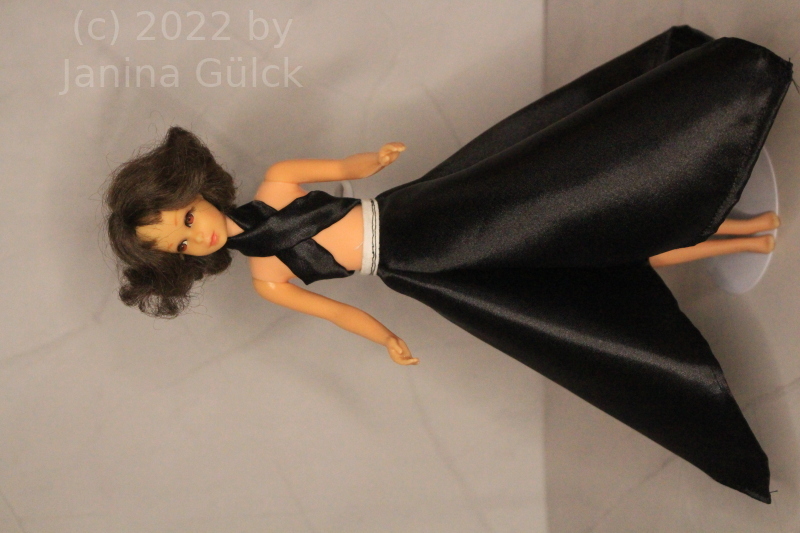
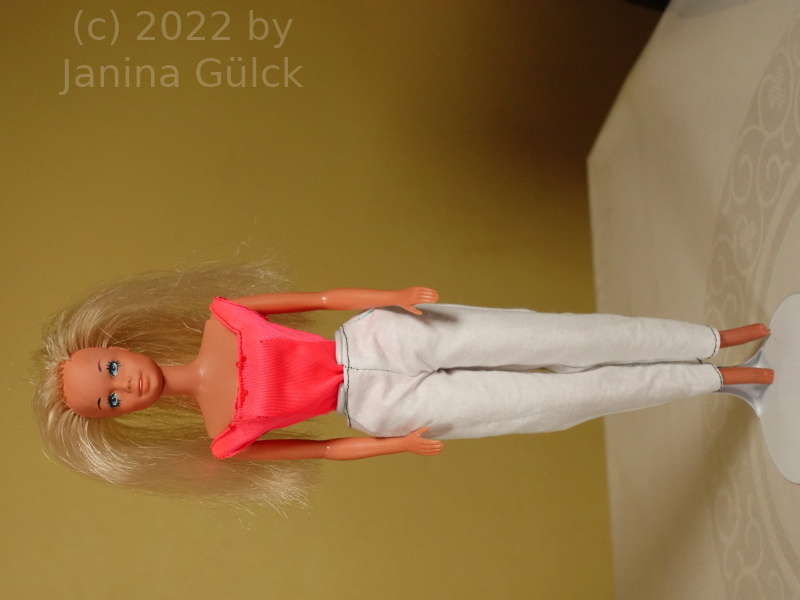
Francie in Halloween outfit

You could also use it for Christmas when you do it in another color like red or green to make it very festive. You know I’m very flexible with my designs. Why not using them for another occasion?
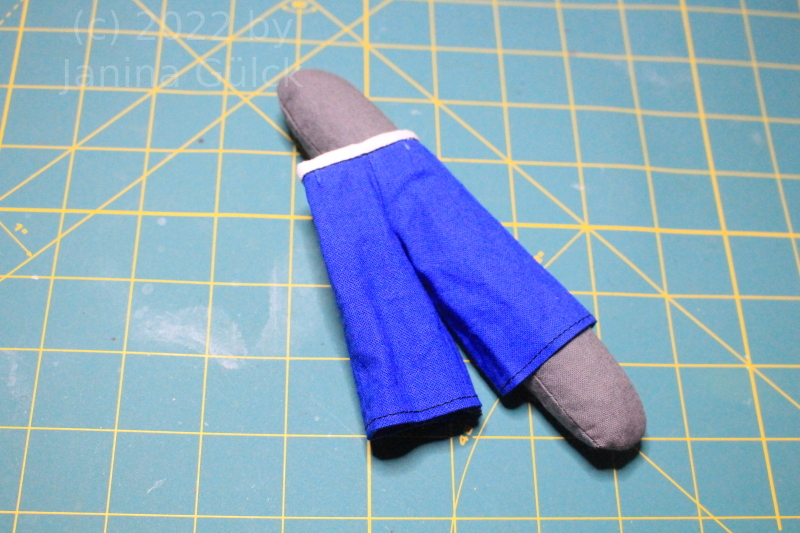
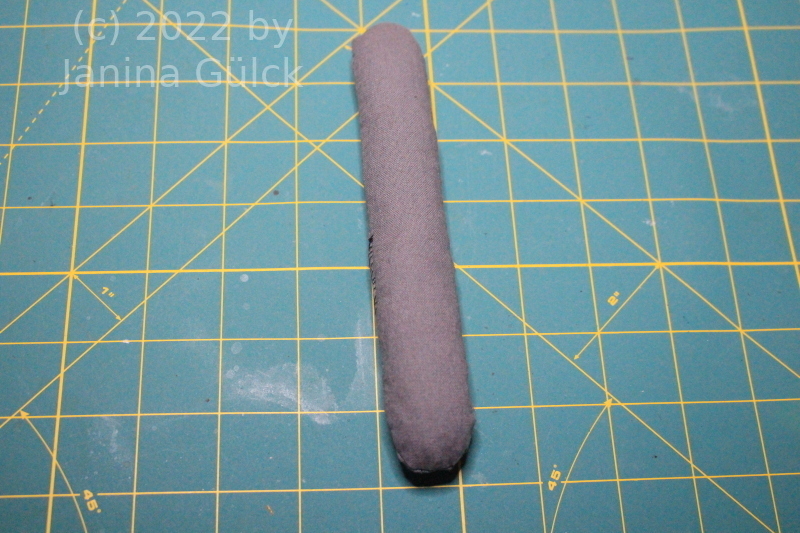
Diy tailor’s ham in Barbie size

I began this project because I had no access to the right tailor’s ham in the right size. From other collectors I heard the question why not just buying one. The answer is that I can’t buy because it’s not available here in good old Europe. That’s the idea why I did my own diy tailor’s ham in Barbie size.

I came about this problem several months ago when I worked on my Francie short and had problems to iron the shorts at the end due to little curves. Of course you want to lay your fabric flat close the seam but it’s not always easy when doing these miniatures. I had this problem more than once. I’m a creative person an try to solve these problems of my own. Why not do something diy to solve it was the idea behind this project.

Francie shorts with diy tailor’s ham

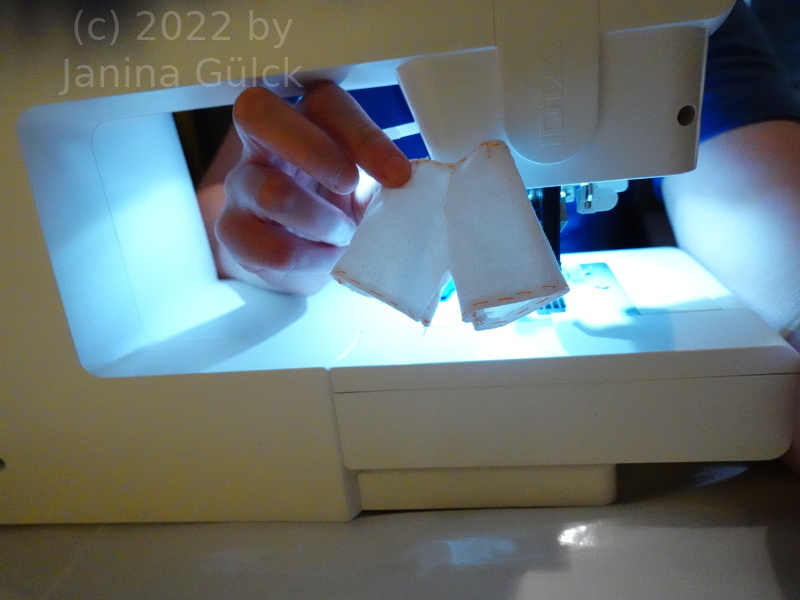
Yes, of course there are several videos about how to do your own tailor’s hams out there. It’s not very hard to do your own version of it but I needed a special form because a normal tailor’s ham is way to big for miniatures. I needed one for skirts and trousers and one for armholes. Armholes are the hardest to iron projects when you don’t have the right sewing supplies.

In the past I had the problem to put the arm through the armhole because the seam was in the way. I’m not perfect in doing arms and armholes. I’m still practising to come to perfection one day but for my projects it’s working at the moment. Just needed a way to improve my possibilities in supplies here. I hope this will make the process easier in the next projects.

Tailor’s ham in Barbie size

I also have a mini ironing board for Barbie dolls but I have not used it often because the arm part did not fit the way I hoped it would. It’s a nice idea and for some projects it will work but not for all projects.

I hope that my idea helps you out there too to diy your own tailor’s ham without spending a huge amount of money. You can do it in any shape you like. It’s completely up to you. I don’t want to urge you to do it the same way I showed it here. You can tailor it to any size you may need and that’s one positive thing for me because you are not dependent on any industry.

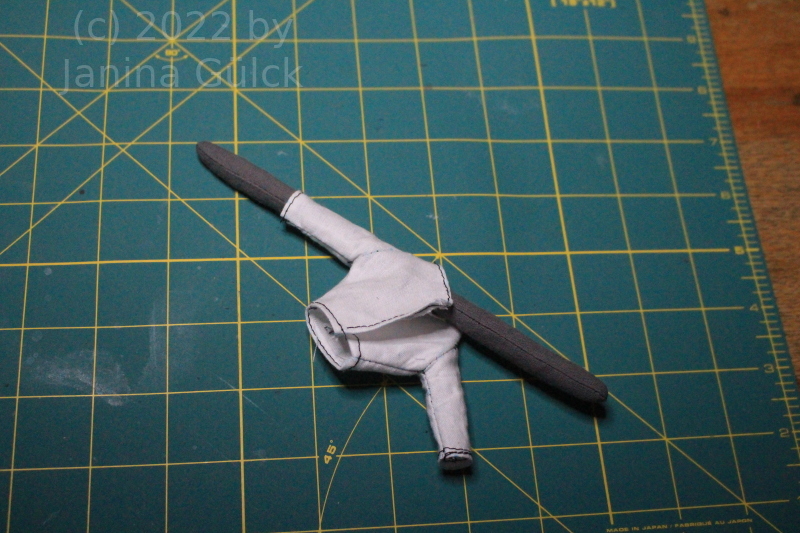
Diy tailor’s ham for arms in Francie doll size

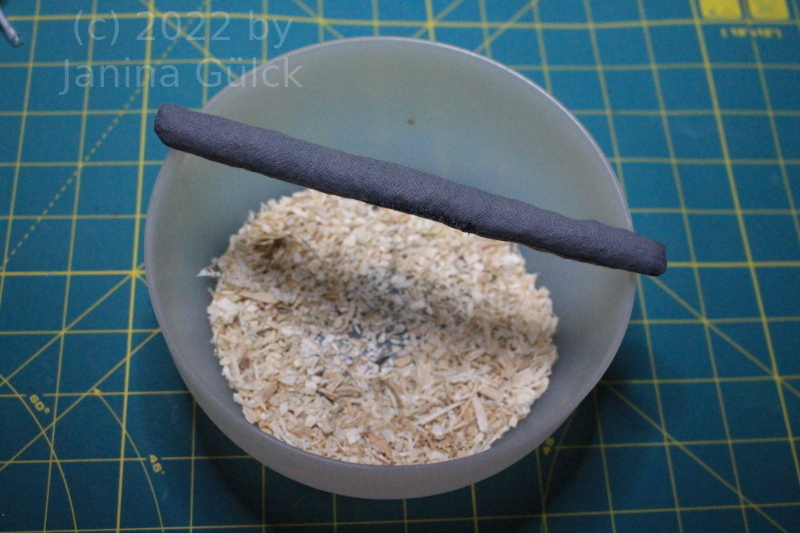
For those of you interested in the filling it’s something very easy. For tailor’s ham bedding is used like you can see in the pic below. It’s the stuff that you used for cages for Hamsters, Bunnies and so on. It’s easy to get and cheap. This was not my idea. In my research I used other videos and blog posts.

Bedding used for tailor’s hams

How to make a pair of shorts for a fashion doll

This was a topic I really wanted to work on for a long while but pattern making patterns is always time consuming. I already did a pattern for a pair of pants in the begin of the year but it was not perfect and I did not find the time to improve my skills immediately. In another way I never lost the interest in how to make a pair of shorts for a fashion doll. I saw a video where you could learn how to make a pair of short for your doll from a skirt pattern.

A prototype pair of shorts for Francie

It sounded very easy since I already had a skirt pattern for my Francie and I simply continued to work on the fashion, simply did what I saw. Then I made a sample and tried to improve my own patterns here. That was literally everything I did.

With this pattern I tried to find my own mistakes from the beginning of the year. I knew my pattern was not perfect but I did not know where to start my improvements.

Francie doll, Francie Fairchild, Mod Francie, Barbie's cousin
Francie with different patterns in different lengths

My pattern fitted my Francie very well and so I decided to work on this pattern for my Supersize Barbie as well. The pattern on her also worked very well. So now at least I have created a basic for my future work of how to make a pair of shorts for your fashion doll.

A pair of pants made by Busy B from Germany

I think I got the basics now and I can make the length longer or shorter for the dolls I have here. I think that’s one of the most satisfying things you can see when you want to improve your abilities as a tailor.

Measuring Francie for the pattern

If you want to learn how to do this very easy pattern transformation for your doll I can recommend you to watch the video below. It contains a step by step instruction how to do this yourself.

How to make Skipper a full pony again

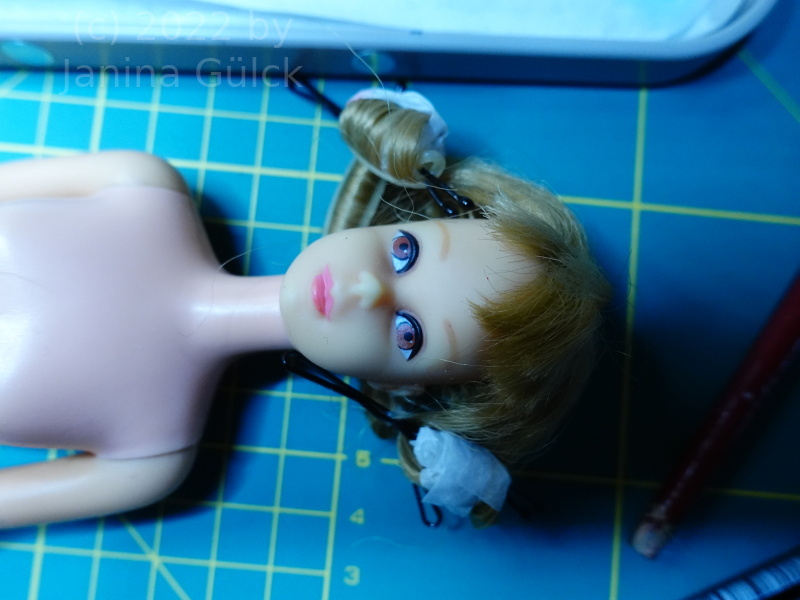
This week it’s more a personal story in my blog. I was asked about two weeks ago if I could have a look at a Pose n Play Skipper newly acquired by a German collector. I said sure because we have dealt with each other before. So she shipped her Skipper to me and half of the pony was missing.

Pose n Play Skipper with partly missing pony

It was not question that I wanted to make her Skipper a full pony again. Her Skipper was obviously played often with and the hair was a bit oxided. It was not as obvious as when you see a Julia doll https://www.fashion-doll-guide.com/Julia-Barbie-Doll.htmlfrom the late 60s. This Skipper has no color magic hair https://www.myvintagebarbies.com/colormagic.htmbut her hair changed a bit over the decades. When you work with oxided hair it’s no problem to replace the missing hair. The hair itself is intact but the question is if you could find the 100% matching color. That’s a very hard task.

Pose n Play Skipper after reroot with wild hair

The solution: I always keep the rests from my reroots and that came to my help here. I still had a rest of a matching color, maybe not 100% the same but at least 90%. You have to look very closely to find a difference in the colors and so I replaced the missing streaks with this rest.

Before I started my prep for “How to make Skipper a full pony again” I checked inside the head with my endoscopic camera. The hair inside was totally okay. I hoped to have this scenario because it’s a lot more work to secure the existing hair pattern first and having to fix it first. That’s really a lot of work and you have to concentrate while doing it.

Skipper after partial haircut

I prefer to work in silence when restoring the dolls. Not all restorers prefer it this way but I do. Some work better when they have music, some not. I like music but not when I’m working like here. I can concentrate better on the reroot I do when working in silence. In general it was no problem to restore this Skipper because she was not problematic like having a neck split or other problems that could cause trouble during the work.

The hardest task in this restoration was to find a hair color matching with the existing hair. Giving her a new pony was not very hard. Yes, it’s time consuming but not hard. You need two hours of time during the reroot. Sometimes it’s not predictable if you have used enough hair or not. When you are missing a streak or two add them later. It’s possible to add more hair later when you are unsatisfied with your own work. You can add hair as long as you like your work and as long as you have hair.

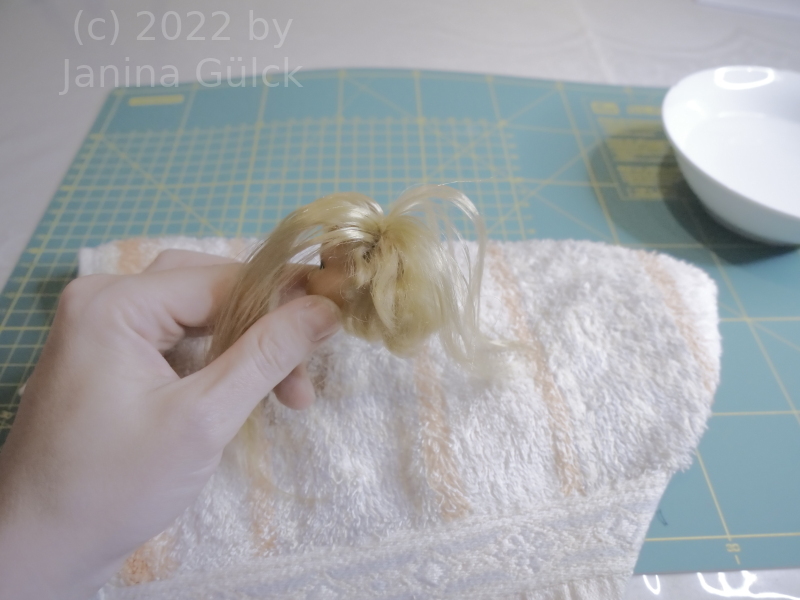
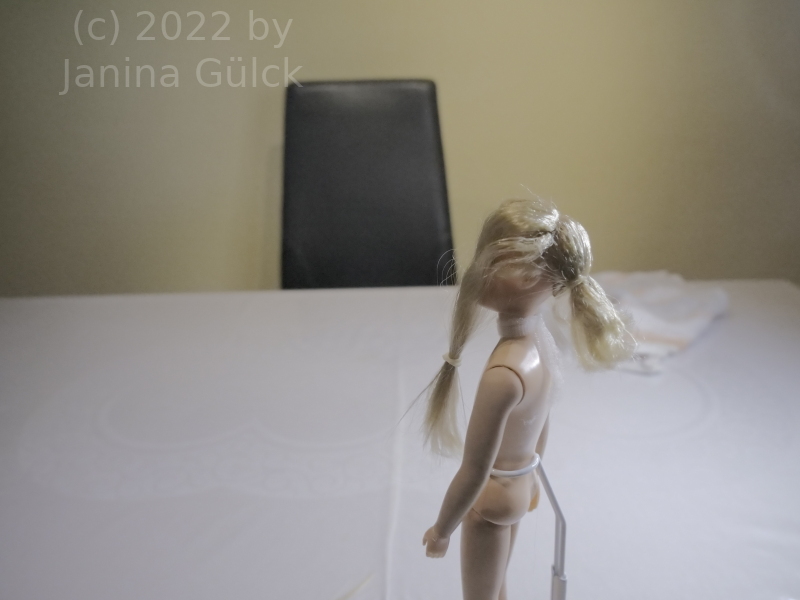
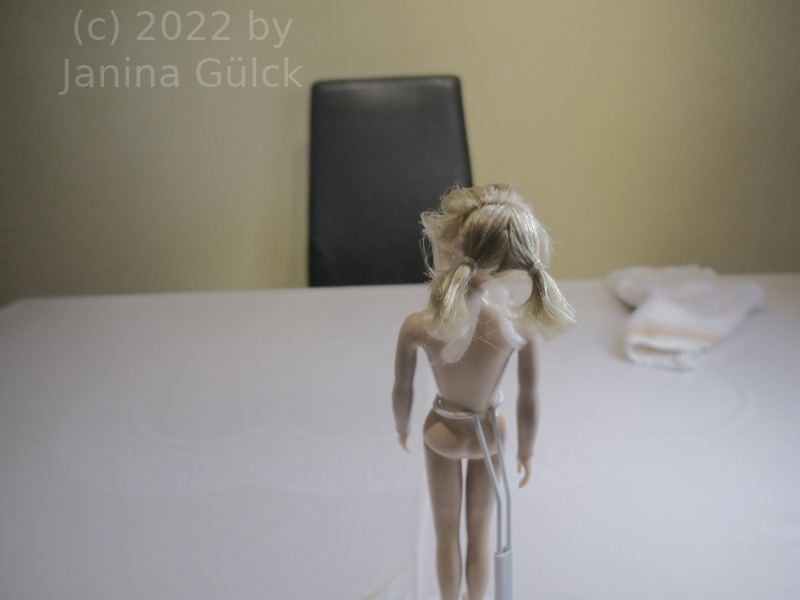
Pigtails are back, pony still has to be cut

How to remove stains from Francie dress

In the last weeks you have not heard from me every week. I was busy on other channel, not just doing videos but I continued to repair stuff for you. Last year I found a Francie ” First Formal” from the 60s. It’s great to have this outfit but it has also a negative side to own old fashions. Within the years light fabric gets stains and this was also the case here on my First Formal. I got some advice from senior collectors to be careful when cleaning it because the pink bow. You know Mattel did not pre-wash all the fabrics. From what I have seen and learnt along my repair journey they did it not with every fabric. So be very careful when you want to clean things. You may be lucky but often the fabrics start to bleed until you think they are completely discolored. In fact they are not but you just pre-washed them. Congrats.

Francie’s First Formal with stains

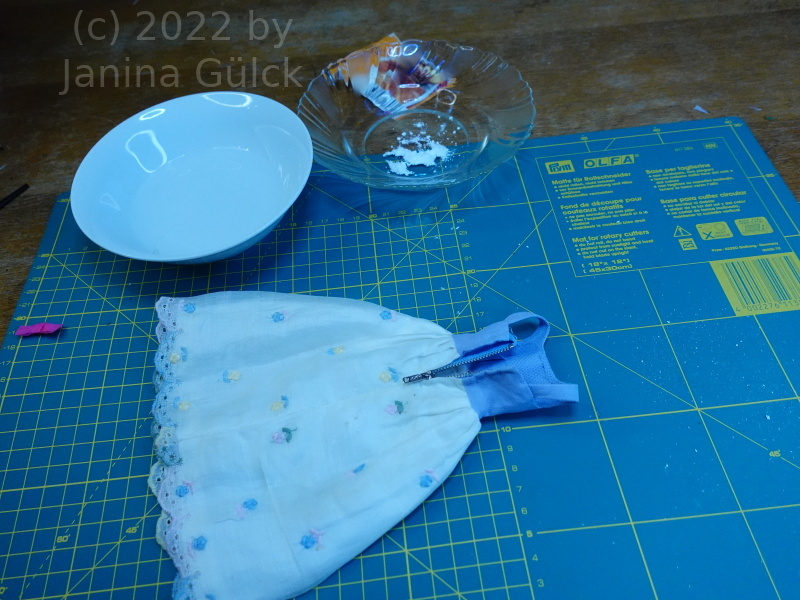
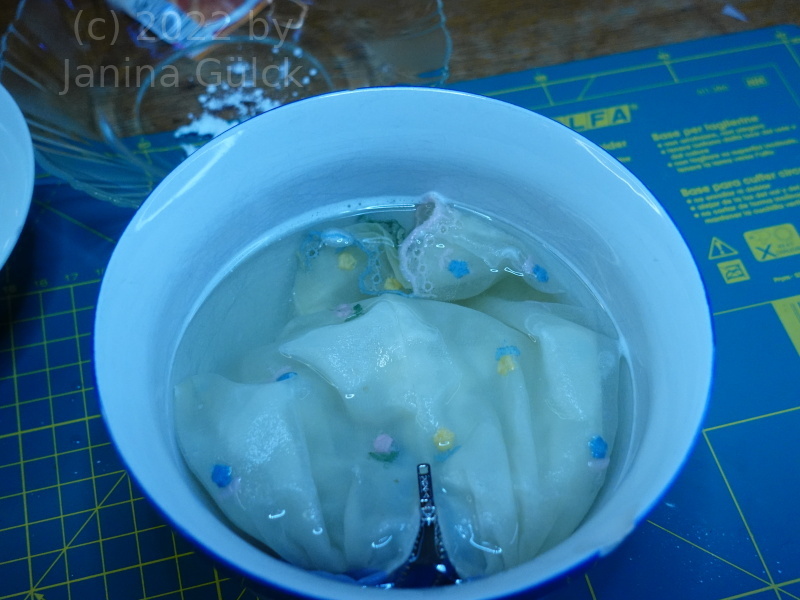
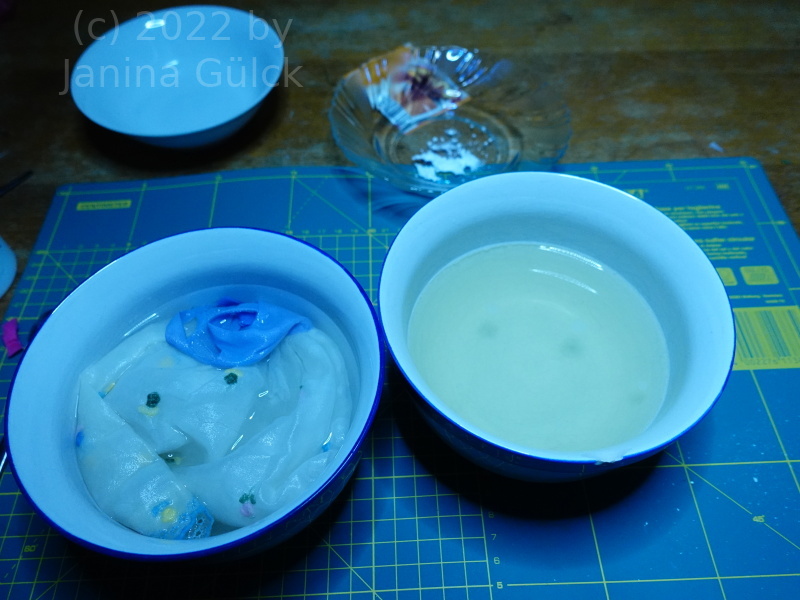
When you are in this situation you may think ” Great, I find a solution” or ” what the hell is happening here” or ” I wish I had never done this”. In the first part of the cleaning I literally thought “what the hell is happening” here. My idea to separate body and skirt was a total failure after my first attempts to clean the dress with soap, water and baking soda failed because of the delicacy of the fabric. After my first attempts it was clear to me that I did not get the success I wanted and I did not want to ruin the dress. Original Francie fashions are expensive in Europe. I decided to take the risk, remove the bow since it was the bleeding factor and I knew it before I started. I trashed all my plans in one moment and started to use Boost, a cleaner for old fabrics I bouth last year. It’s really good in getting stains out. I wasn’t sure if the upper blue top part would bleed but soon realized that it did not start to bleed. To my own surprise the luke warm water changed into a pee like color after not even two hours.

Francie’s First Formal before the boost procedure

I let the Francie dress in there for at least 24 hours to remove all the stains and dirt from the last 5 decades. I used two bowls to get all the dirt out. After the stain removal the dress became completely white again. I thought it would have been designed as a cream tone. I did not expect it but it’s great. It’s great that all stains are gone now.

Francie’s First Formal in boost
Francie’s First Formal after 12 hours in boost

Talking Barbie and her leg problem

When you have a Talking Barbie from the late 60s you probably know the problem. Her legs fall off. Without a word, without any explanations. I don’t know how many of them were produced but I think up to 80% have this problem.

The fallen off legs were treated in different ways by different persons. Some re-glued the legs back to the body, some repaired the legs with screws. Be careful here when you want to repair the mechanism. When the screws are too deep in the body the Talking Barbie will never be able to talk again.

I admit I have seen some really creative solutions to the problem but seen from the point of view of harming a doll or not I got different answers to the problem. A lot of you emailed me about your experiences with Talking Barbie and the leg problem. Some told me they bought Talking Barbie legs and the legs fell off again a while. The ones glued back with Gorilla glue had the biggest problems. I have no idea in which decade it was done but now the arm and leg knobs seem literally to crumble away.

Here’s what I’m talking about. See an intact leg knob here ( in one piece again)

I can give you the advice to be careful when buying used Talking Barbie dolls. It’s often the easiest way to buy them from first owners who never reglued them to the body. You can be sure to fix them properly and you even have a chance to repair the mechanism ( if you are as crazy as I am).

Since I got so much feedback I wanted to make another Video about Barbie and how to fix her legs. It’s not really hard. You only need to have her broken leg knob piece, some MEK, a paintbrush and some patience. In my latest video you can see an instruction how to reattach the legs.

When you ask my about the cause of leg problem I can only assume that it could be a material weakness. The forces having impact on the leg knobs must be huge. We have two different materials here that have an impact on the leg. It’s the rubber of the leg and the Barbie body. I think they don’t like each other and that might be the reason for the reaction. Maybe you can imagine it like a magnet and the two don’t like each other. I hope this explains Talking Barbie and her leg problem a bit better to you.

Here’s our Stacey after the repair

How to change a fashion doll arm

I dedicate this article to the topic how to change a fashion doll arm. I have only Barbie family members so this is only valid for Vintage Barbie, Francie, Midge, Ken and Skipper. The joints were changed later so that this is not possible in the same way for later dolls.

What I can tell you about this topic is that it is not hard, like always when I talk about Barbie. It is simple when you know how to do it, what to use in the process and what to avoid.

One thing all of the above mentioned dolls have in common is the arm joint. It’s the same one for all dolls. That makes it easy to show it only once and you can use it for all dolls.

I refer to Barbie only here because I only have Barbie dolls. I don’t collect any other fashion dolls.

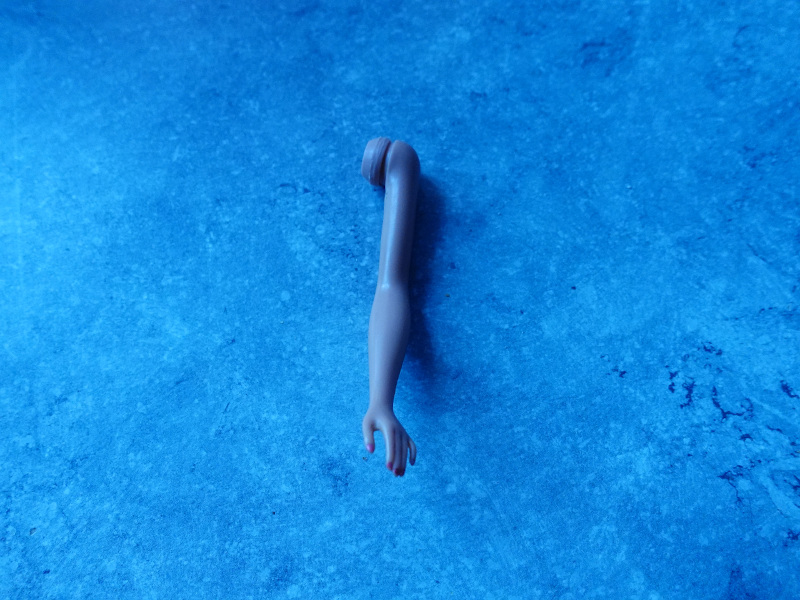
Vintage Barbie arm with joint

For reasons of easiness let’s start with what will expect you. Have a look at one of these arms. As you can see the construction itself is very simple. The arm and the joint are made from one piece. I think it was easy to design, easy to make a mass production of these arms and the were cost effective. More pieces per doll would be more expensive. The less pieces per doll you have to assembly the cheaper the production/ assembly costs.

I think it was not intended that doll docs would ever write about the topic in the future but this construction is also easy to repair. You can replace the arm with another arm. Of course you need one from the same doll type like Barbie – Barbie, Skipper – Skipper and so on. It would not work for different doll types simple because of the different size.

The lengths and joint sizes for the dolls are simply different. You would see it immediately when you replace a Francie arm with a Skipper arm. The lengths are simply different. I came across this topic because I recently bought Francie arms and in reality they are Skipper arms. The difference is very small but you would see it.

I hope it is clearer to you now how to change a fashion doll arm and you know what to look for and what to avoid. If you want to read more about my Francie project have a look in this article http://barbie.final-memory.org/francie-and-how-to-restore-her

New dolls in my collection

I was recently asked about the new dolls in my collection by some viewers and that’s what this article is all about, new dolls in my collection.

As you probably know I don’t collect just for the reason of having a huge collection of dolls that are in bad condition. I’m specialized in Barbie dolls but I don’t collect every doll I find. I can’t do it because of lacking space. I try to buy only what I think is worth to be collected. Some of you may have another opinion. We don’t have any Goodwill here and we had no flea markets since the begin of Corona. Used toys are rather thrown away than being sold in a store. For used clothes it’s no problem but used toys are not common to be sold in any nationwide store chain. In big cities you sometimes have antique store but it is not the rule that you find anything there.

Sometimes you can find dolls on ebay but in most cases they are overpriced. Shopping is not the fun anymore it was when I started to buy there some 20 years ago. A lot has changed since then. The Francie you already saw in the last weeks here on my channel as a big restoration projects was indeed an ebay find. It was really a coincident to find one.

That’s the Francie I’m talking about her

Her had some traces of the last 50 years and I restored her. You can find the video under this link https://youtu.be/9B-YvDwIKU4

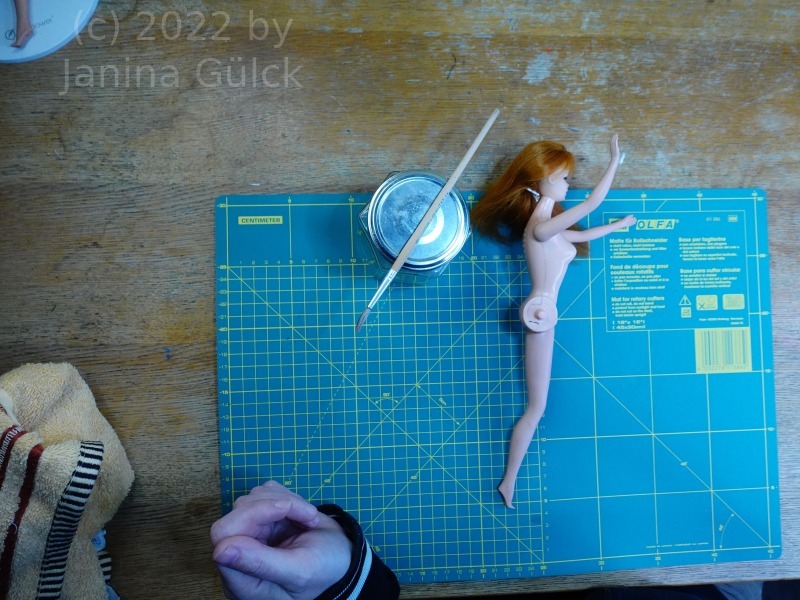
It’s a very popular video on my channel. It’s worth to be seen. Anyway you can learn a lot in restoring a Francie doll. Francie is the cousin of Barbie and at the moment I really like to do videos with her. You can see this doll in the next weeks on my channel again since she’s not completely finished now. She still has a cut in her arm and she will get a replacement arm. This video will follow in the next weeks. So stay tuned in.

Here’s one of the last steps in the last video. She had already gotten a repaint.

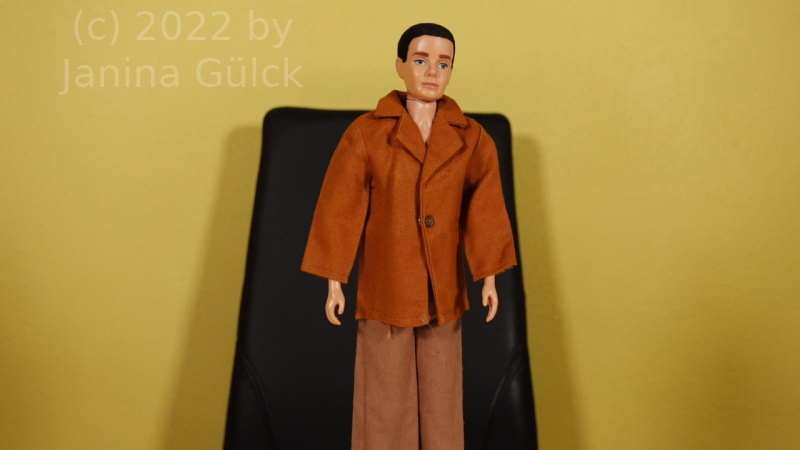
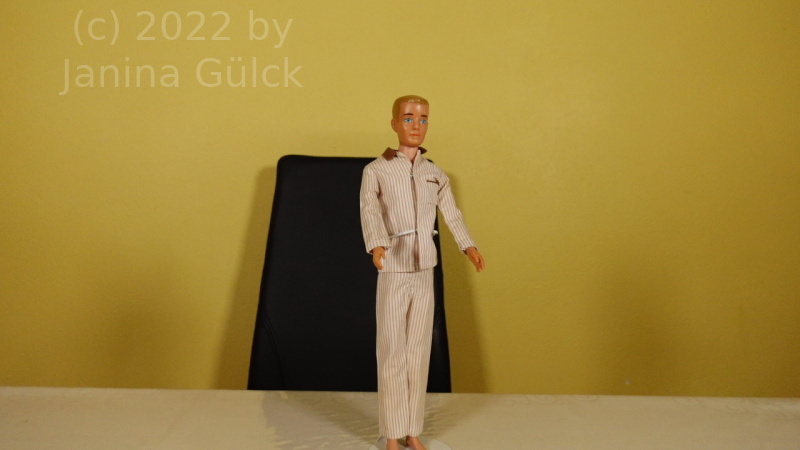
She was not the only doll I found. I also found 3 more dolls. In March I saw three male dolls for sale and purchased them. You know I’m a big fan of Ken but I only have a very few early pieces. That’s how these dolls came into my collection. I found #1 Ken, the very first one from 1961 and one edition from 1964/1965 I think. Both have straight legs, no knee joints. My Francie is also a straight leg doll. These dolls have the advantage that you don’t have any problems with green knees.

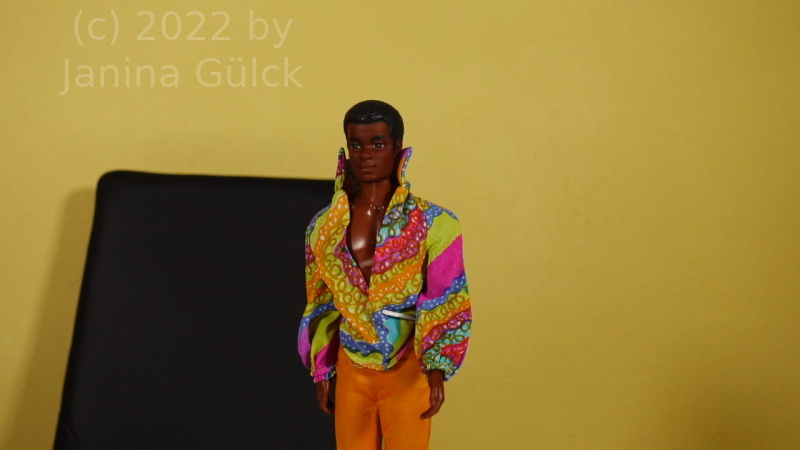
Free Moving Curtis

Free Moving Curtis from the early 1970s is the only doll with knee joints and a sphere for being super sporty where humans have their stomache. I had no Curtis before and that was my chance to buy my very first Curtis. They are offered very seldom in Germany.

#1 Ken
#1 Ken

The #1 Ken got my attention because his flocked hair is still perfect. I don’t know if any girl ever played with him. He’s still looking perfect.

The last Ken I found is the following one. He had also a perfect painted hair. No missing paint is also hard to find. That’s why he also hopped in my shopping bag. All my other Kens from the early years are not perfect. The offer was too good to reject it.

Late Straigt Leg Ken

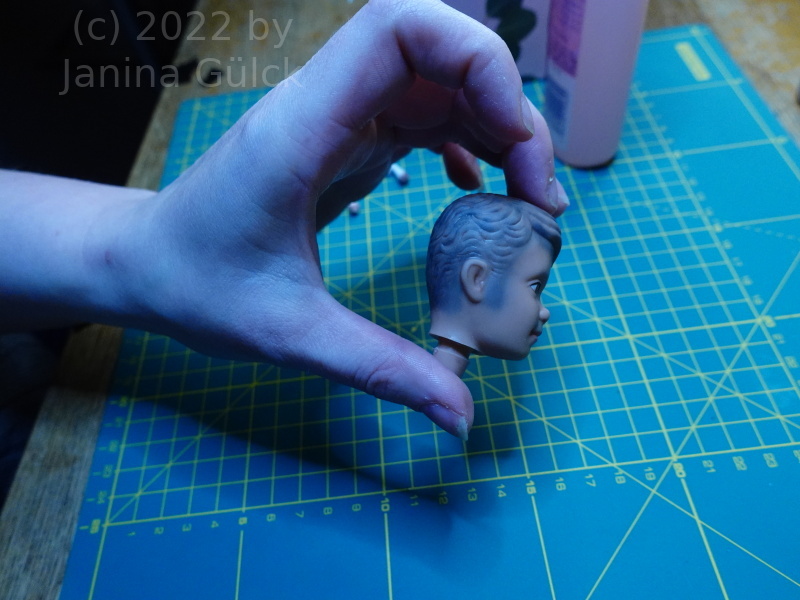
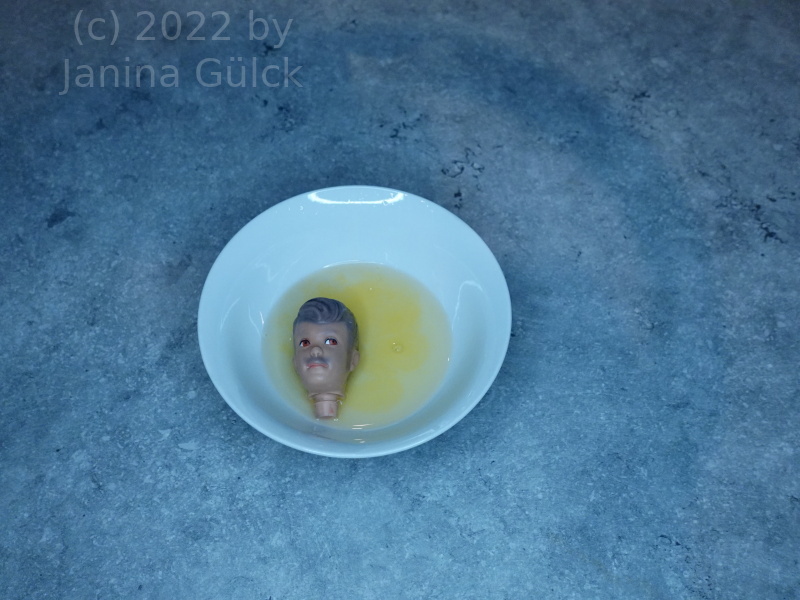
How to rescue an Alan with stains?

The question how to rescue an Alan with stains was the latest idea for a video. I got an Alan head with stains in January or February. He had lost some of his hair color and he has been the victim of a child who painted the head black. Maybe this was in the 1970s? I have no idea but the black is very durable and moved into the head itself and made a connection with the rubber of the head so that a removal was very hard.

Alan with Remove Zit

I know that you have to be very patient with removing stains even when they are ink stains. It’s time consuming and you need a lot of sun light. For the rescue of Alan both things were missing, like often when you want to do a video but the time is limited.

At first I wanted to remove the stains with Remove Zit, good idea but it failed I think due to the color of the ink and missing sun light. It’s not that Remove Zit is not working. Anyway rubbing alc and Q-tips did not work but I already imagined it. Another idea I had while working on the head was to try the Stain Devil. That’s a stain remover I have already used for removing black stains from Barbie feet or heads. The black part was however much bigger this time than the last time I used it.

Alan after removing his leftover hair

I thought it was a worth a try after having removed the reddish hair color of Alan. At first I thought I could get the black totally of but I underestimated the color. It’s hard to get black off completely. I don’t know the content of ink but it’s an awful substance when you have to remove it from dolls or clothes.

Alan in Stain Devil bath

I simply don’t like it. However this meant not that I had to throw the head away. I simply made something complete new out of him. After realizing that the black won’t come of as I hoped I decided to do a OOAK Alan. When you can’t remove all the ink use the same color again. That was at least the idea here in this how to rescue an Alan with stains project. I used black color to paint his head and painted over the spots that contained black.

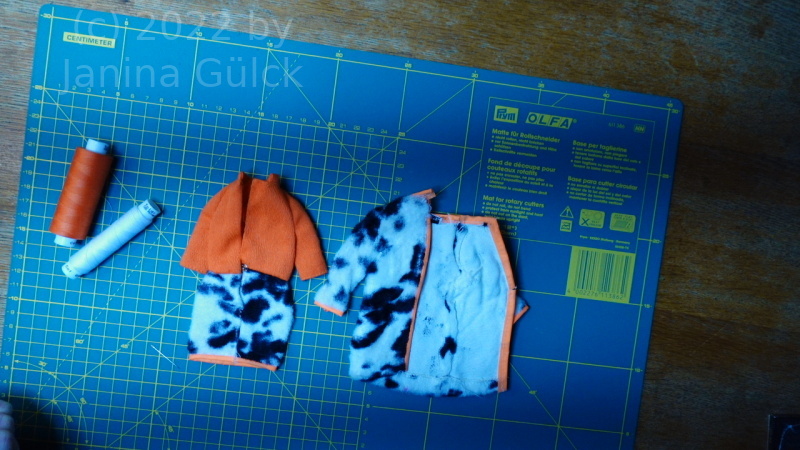
How to repair Plush Pony from 1969

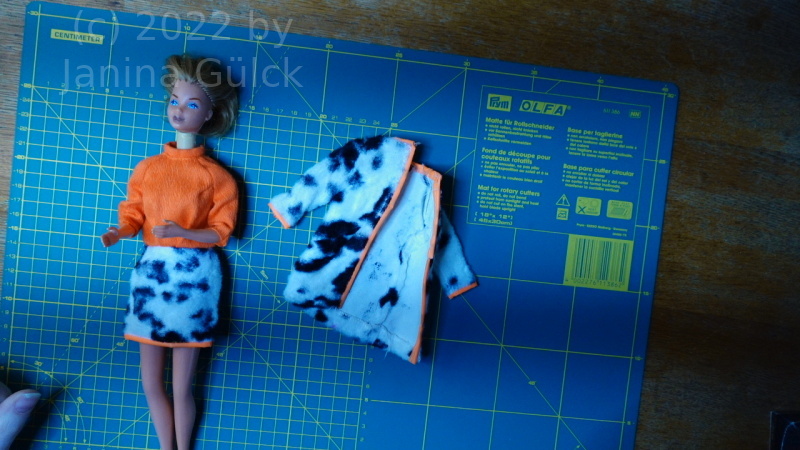
Maybe some of you remember this outfit from the late 60s. It’s very modern and it’s called Plush Pony. Somehow this outfit reminds me of a cow skin with the black spots. I have to tell you this here. Plush Pony mainly consists of the colors black, white and orange. Today I would like to talk a little bit about how to repair Plush Pony from 1969. This is an outfit worth to be repaired.

Another collector sold this outfit to me as project for repair. You know every now and then I get the chance to buy the broken outfits for a low and this is the case here. The seller is one of my silent admirers. In the last weeks I finally found the time to repair it. It was on my to do list for the last months but I hadn’t done it earlier. I need some positive vibration when doing this. I hate to do it when I’m under time pressure. That’s one of the worst things you can do when repairing a doll.

Barbie Plush Pony

The things that expect me were the age. The trim became stiff within the 50 years of it’s existence. That was the hardest problem to deal with due its stiffness. So I decided to my best to get it back on the fabric. The repair of the dress was easier. It had a common problem with open seams.

Kissing Barbie wearing Plush Pony

At the end I was able to fix this outfit. I don’t know if this trim was stiff from the beginning but I dealt with it the best way I could. The Kissing Barbie you see here was another repair project I did last autumn but I forgot to blog about her due to a lack of time.